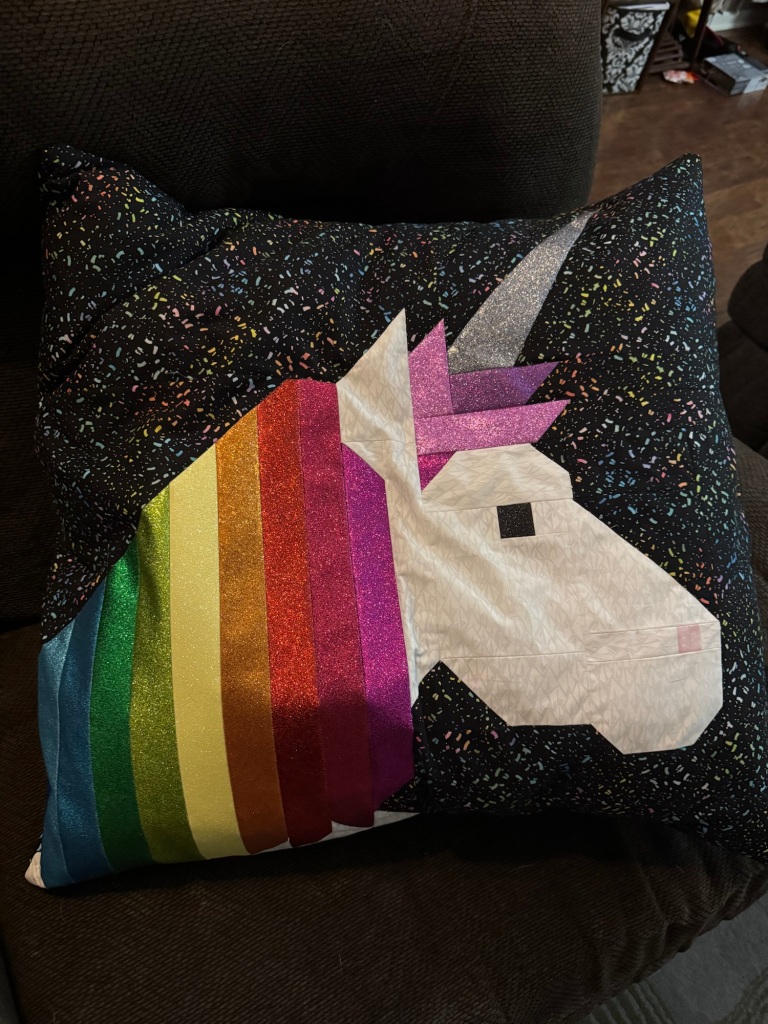
Last weekend at the Grandparent, PB was presented with a special Grandma present….her very own unicorn pillow!
My mom is a brilliant quilter with a full suite of tools. PB was ENTHRALLED by the finished pillow and proceeded to leave it on her spot on the couch. It turned out fairly large and is more of cushion than a pillow.
It was too cute not to share with all of you! Happy Sewing!!
My pile of mending and odds and ends have been growing. I have two toys to fix, a hat needing a pom pom and some gift knits that need tags.
I finally reached the part where I got annoyed enough to get my sewing kit out and addressed all the needs. PB was excited to get Tigee back and I am now ready for an upcoming baby shower. But no one was happier than Duke to get his lovey back….sans ear this time 🙂
I have this pair of ripped jeans that I love but where the rip is traveling up my strong thighs. I decided that I have the skills to make this better. And I thought of sashiko mending where you use thread and use running stitches to mend/reinforce.
I robbed my kids craft box and grabbed a blue and a black embroidery thread. I ended up choosing black as I liked the contrast against the blue jean fabric.
Are my stitches even and neat? Absolutely not. But this was a fun experience and I’m interested to see how this feels and how it wears the next time I put these on. I ran anchor stiches down each side of the opening and then crisscrossed using those anchors to reinforce the opening.
And if I don’t like this? I can totally rip it out and try again. Happy Sewing!!
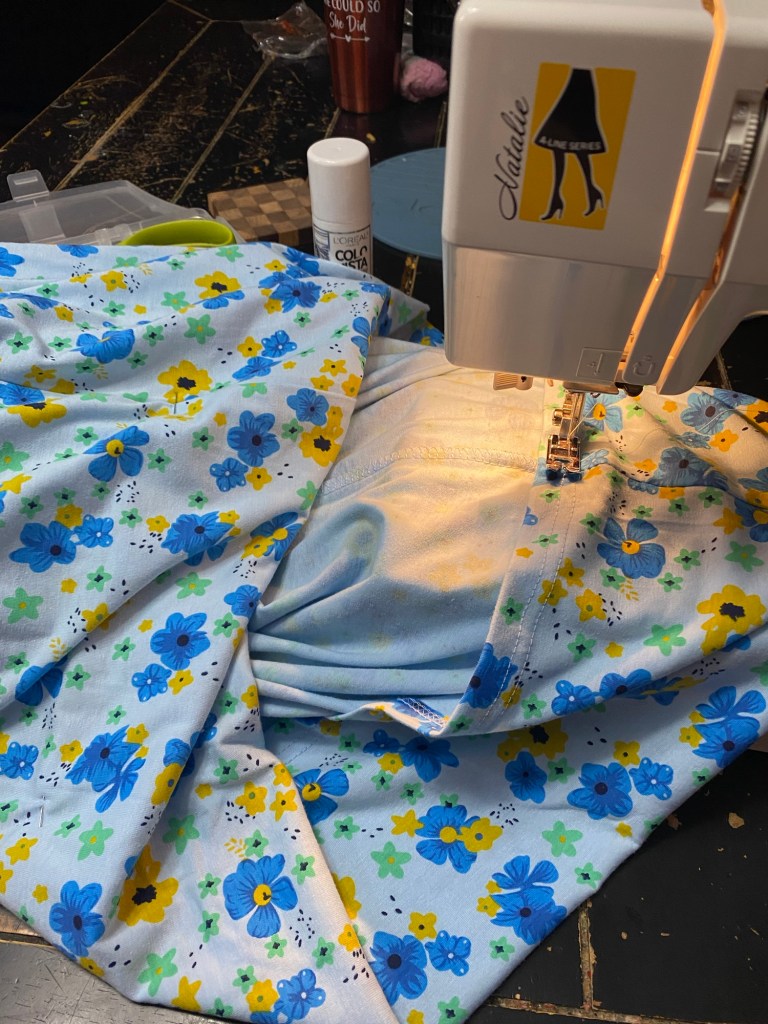
PB reached 100 days of school and celebrated by dressing up as a granny. Per my usual MO, I went to Amazon to help this working momma out. But alas the kit came WAY to big and way to late to exchange.
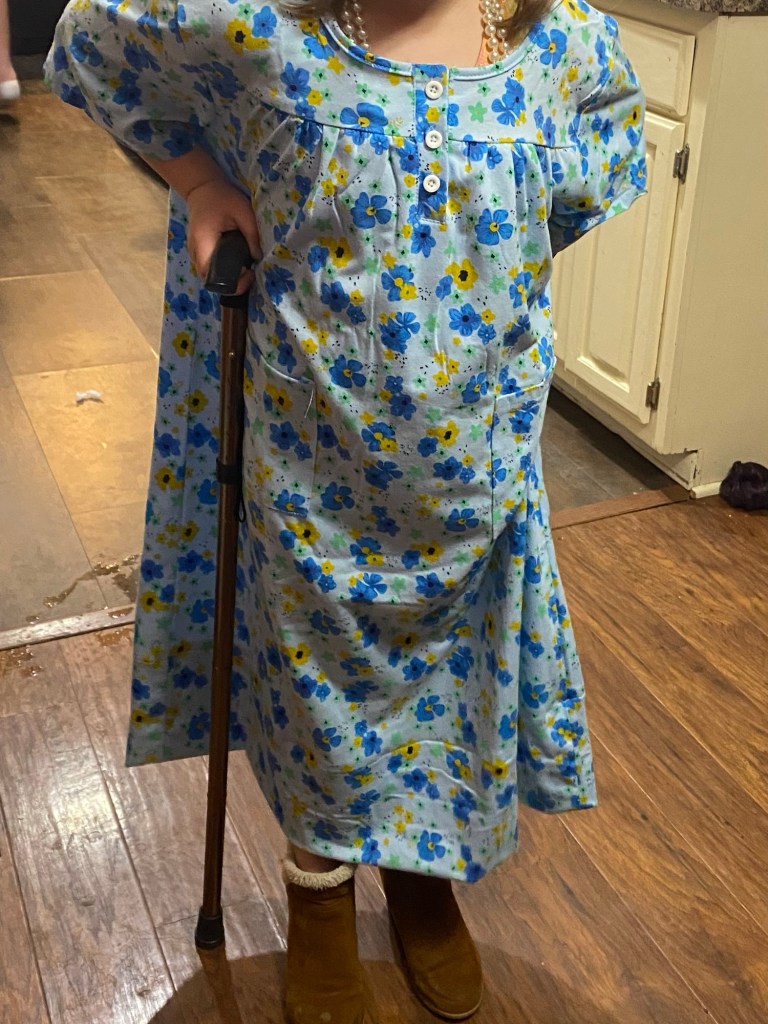
So it was my sewing machine to the rescue. I had to take up 10 inches which meant a 5 inch hem. I did not cut off any fabric so as she grows I can just pick out the stitches and let the “dress” down to fit her.
She was EXCITED. She had her cane, purls, granny glasses and dress. We skipped the skull cap and wig because I don’t hate her teacher. And bonus, she can now play Grannies like they do in Bluey. IYKYK
Another week and another mommy mending project to the rescue. PB showed up in tears with Teddy in need of some back surgery. No one is fessing up as to how Teddy got this point so we are just going to fix him and move on.
A little whip stitch by my inexpert hands and a fluff of bear fur and Teddy is back to normal. Just in time for the Teddy Bear Olympics at Jellybean’s school. (With permission from PB of course.)
I need to trip the cotton thread that was originally holding him togethter and I will return him to the wild!
Jellybean got a little aggressive with dress up play and his favorite sock monkey suffered the consequences. His little hair didn’t fair well and there were tears. But no fear Mom to the rescue!!
A little bit of heavy duty button hole thread, a needles and sock monkey was back to normal. Jellybean was impressed with my “magic” skills.
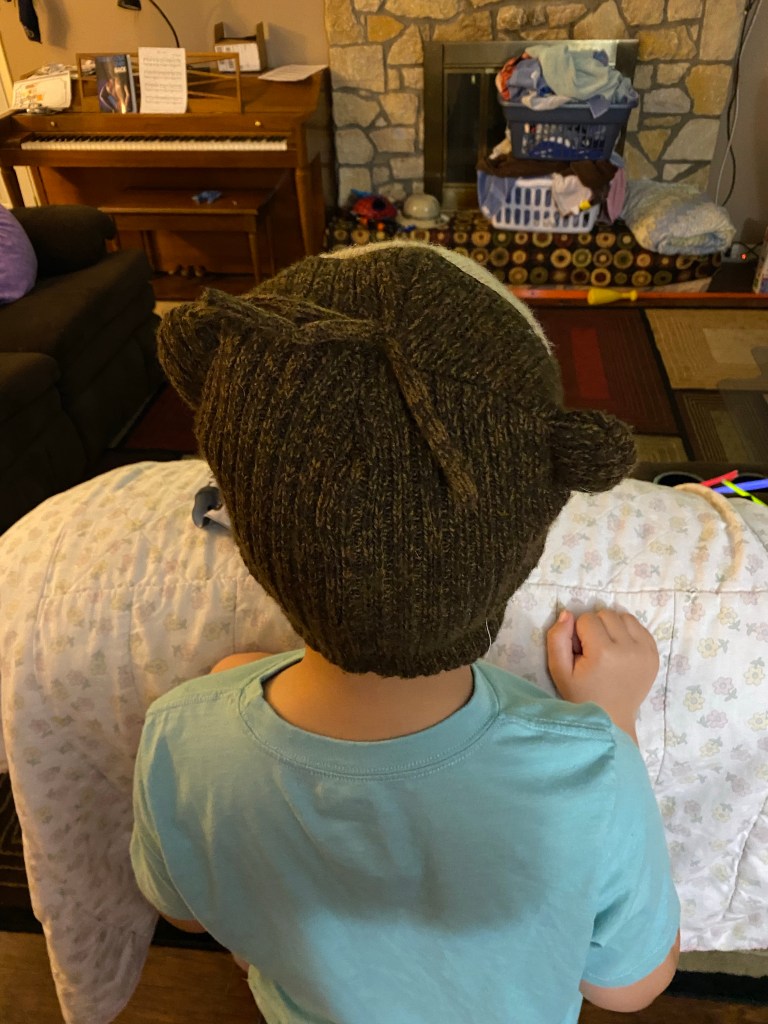
Nevermind its still 90 degrees in Kansas and he’s wearing a full coverage ear flap hat. Kids man!
I won’t be sad to see 2020 go. I don’t feel like 2021 is going to magically different but I hope it’s going to trend in the right direction. The kids are out of school and daycare so we had a project day around the house. Today’s agenda: mend the kids pants.
We managed to mend the side seam in a 2 year old’s pair of sweat pants, the knee seam in a 6 year old’s pants and patch two holes in the 6 year old’s pants. Disclaimer…I have a sewing machine but I’m TOTALLY an amatuer.
My kids and I had fun pinning seams and running the foot pedal. And at the end of 45 minutes I got back three pairs of pants for my kids. Now, I will admit that the pair with holes and blue flannel patches are going to “wear only at home” kind of pants. But the other two pairs are good enough for wearing in public, at least in my humble opinion.
It was fun to do something with the kids and they were pretty excited to have their pants back in rotation.
This is going to be a different kind of FO Friday. Today’s it is mending day. My parents are in town for a visit and they are distracting the human babies. So the fur baby and I pulled out the sewing machine to work on a pile of mending that has been waiting for anywhere from a week to several months.
I’m not the best seamstress, but I managed to fix two pairs of pants and a set of Pajamas for Jellybean and two pairs of pants for myself. That’s five pieces of clothing back in the rotation that were just collecting dust.
Now the real question is how long will my just barely passable sewing last? Time will tell!!
After Jellybean received his big boy he also requested * “soft fings” to snuggle with. I dug around in extremely dusty fabric stash boxes and came up with some fleece remnants and end of bolt pieces.
I let him pick a couple fabrics and let him be part of the sewing process. (Aka watch the machine and hand me stuff). In the end we had two pillow cases and two snuggle blankets. They are FAR from perfect or even but they are soft and made my child happy.
I really haven’t had the urge to sew at all since Jellybean was born. Like at all. It was nice to flex some different crafty muscles!
*Note: the presence of softies did not improve the duration or quality of said child’s sleep….this momma is still very tired…..
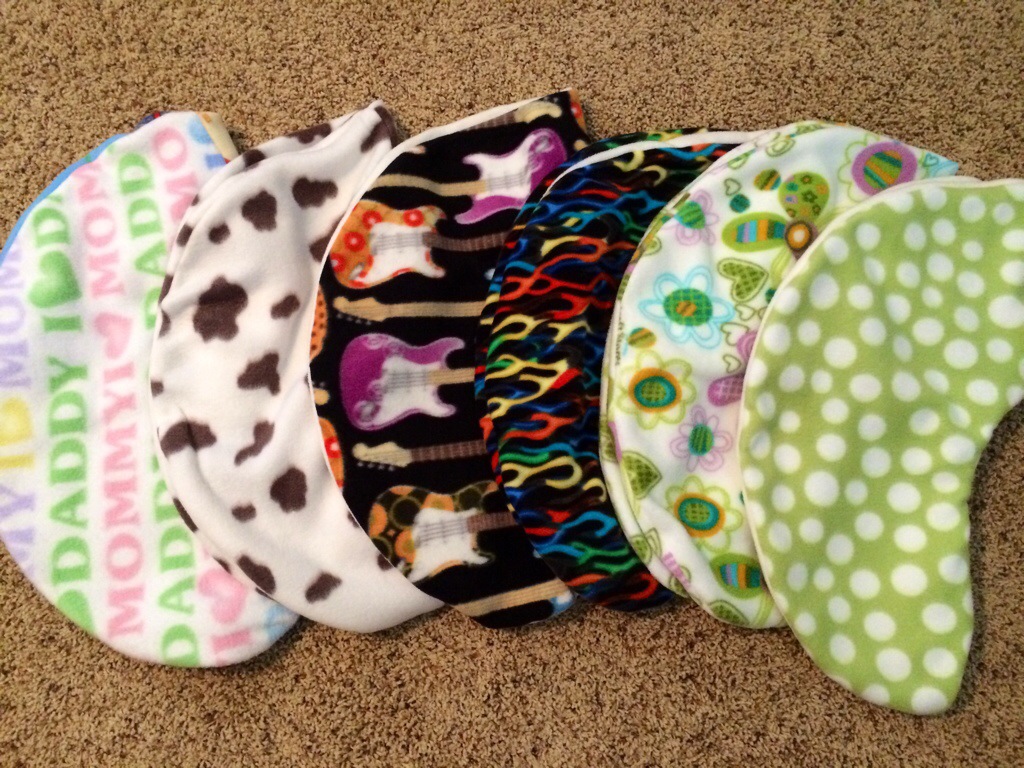
Way back when I got my first sewing machine, I taught myself to make Boppy nursing pillows because I thought they made awesome baby gifts. I had to learn how to put in invisible zippers and thanks to my mom….I did!
And now I can crank out these puppies with the best of them. Now I don’t mean to exaggerate my sewing skills by any means. I have a very limited set of skills when it comes to my sewing machine, lol. But I digress, in preparation for Jellybean I made up my own boppy pillow and an assortment of fun covers.
What do you think? Think Jellybean will like them?