Sweater 911: The Fix!

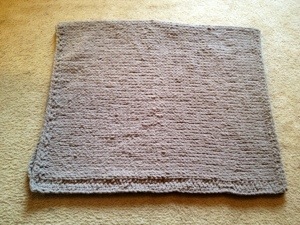
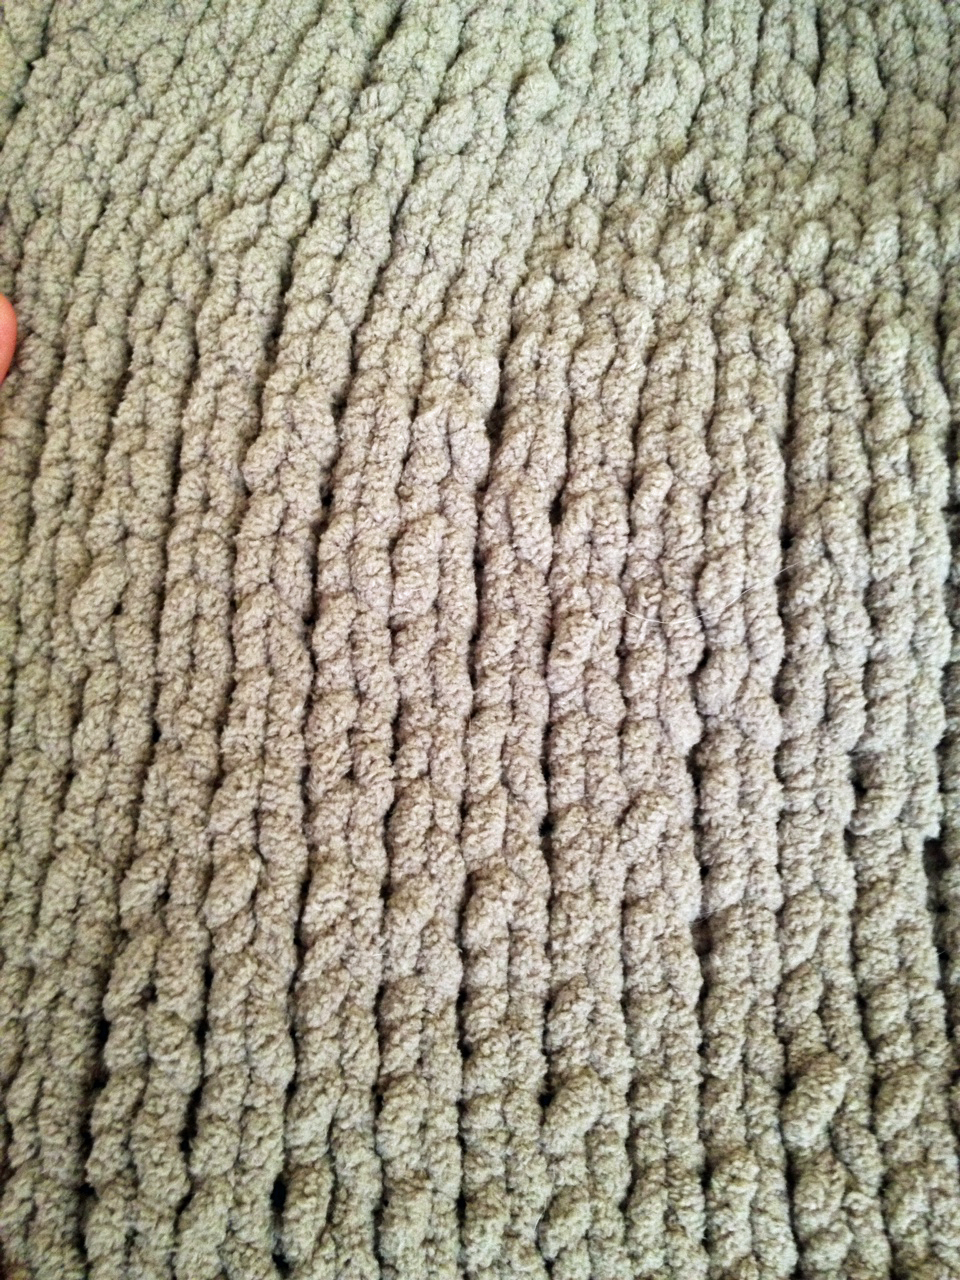
Remember my sweater 911 from last week? I mistakenly knit part of my garter edge as a stockinette edge. It looked something like this….

oops


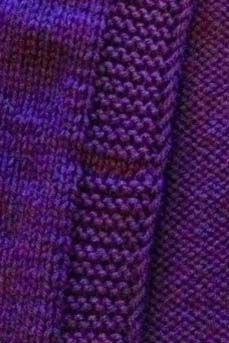
After some hemming, hawing, and wine drinking I decided on a fix. I picked up my yarn and tapestry needle and went to work. I ended up with something like this..

_MG_0431


I cut a length of my leftover yarn and threaded on my tapestry needle. With the right side facing me I simply stitched over and around each one of the 7 edge stitches with a whip-like stitch creating the top of a faux purl like bump. When I reached the stockinette section I turned the work around and stitched back across but this time staggered by half a stitch. This way I could create the bottom of the row to create the look of garter stitch. It didn’t turn out as perfectly as I wanted but it definitely looks better then when I started.

_MG_0433

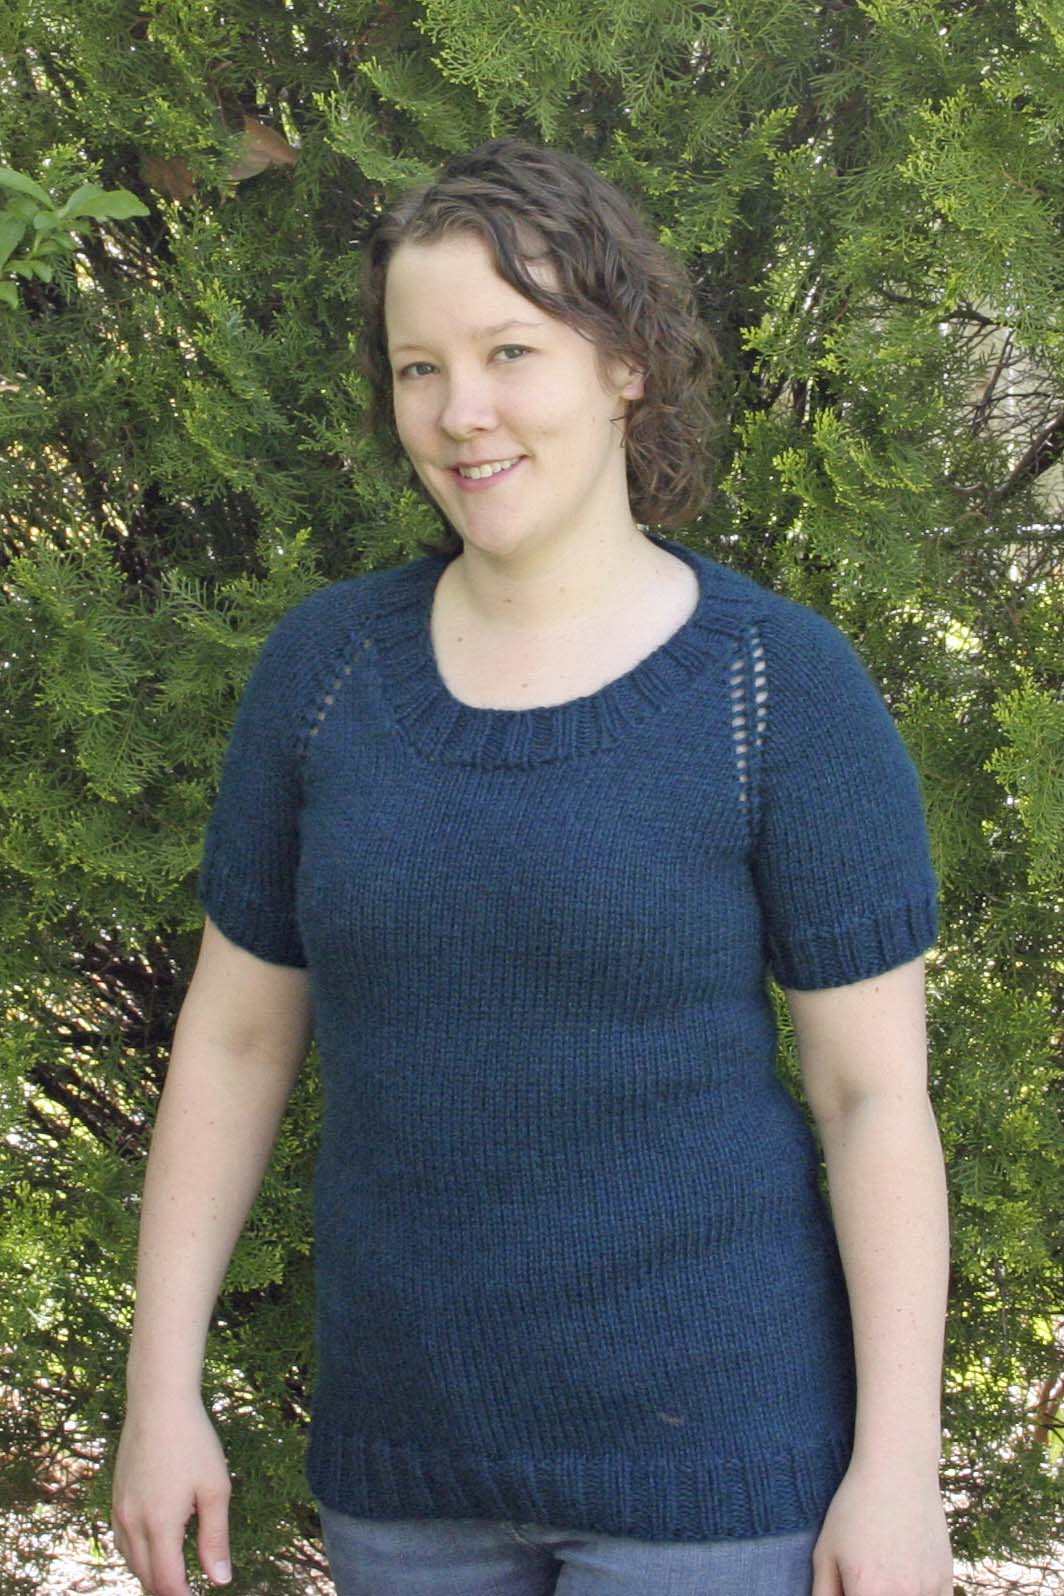
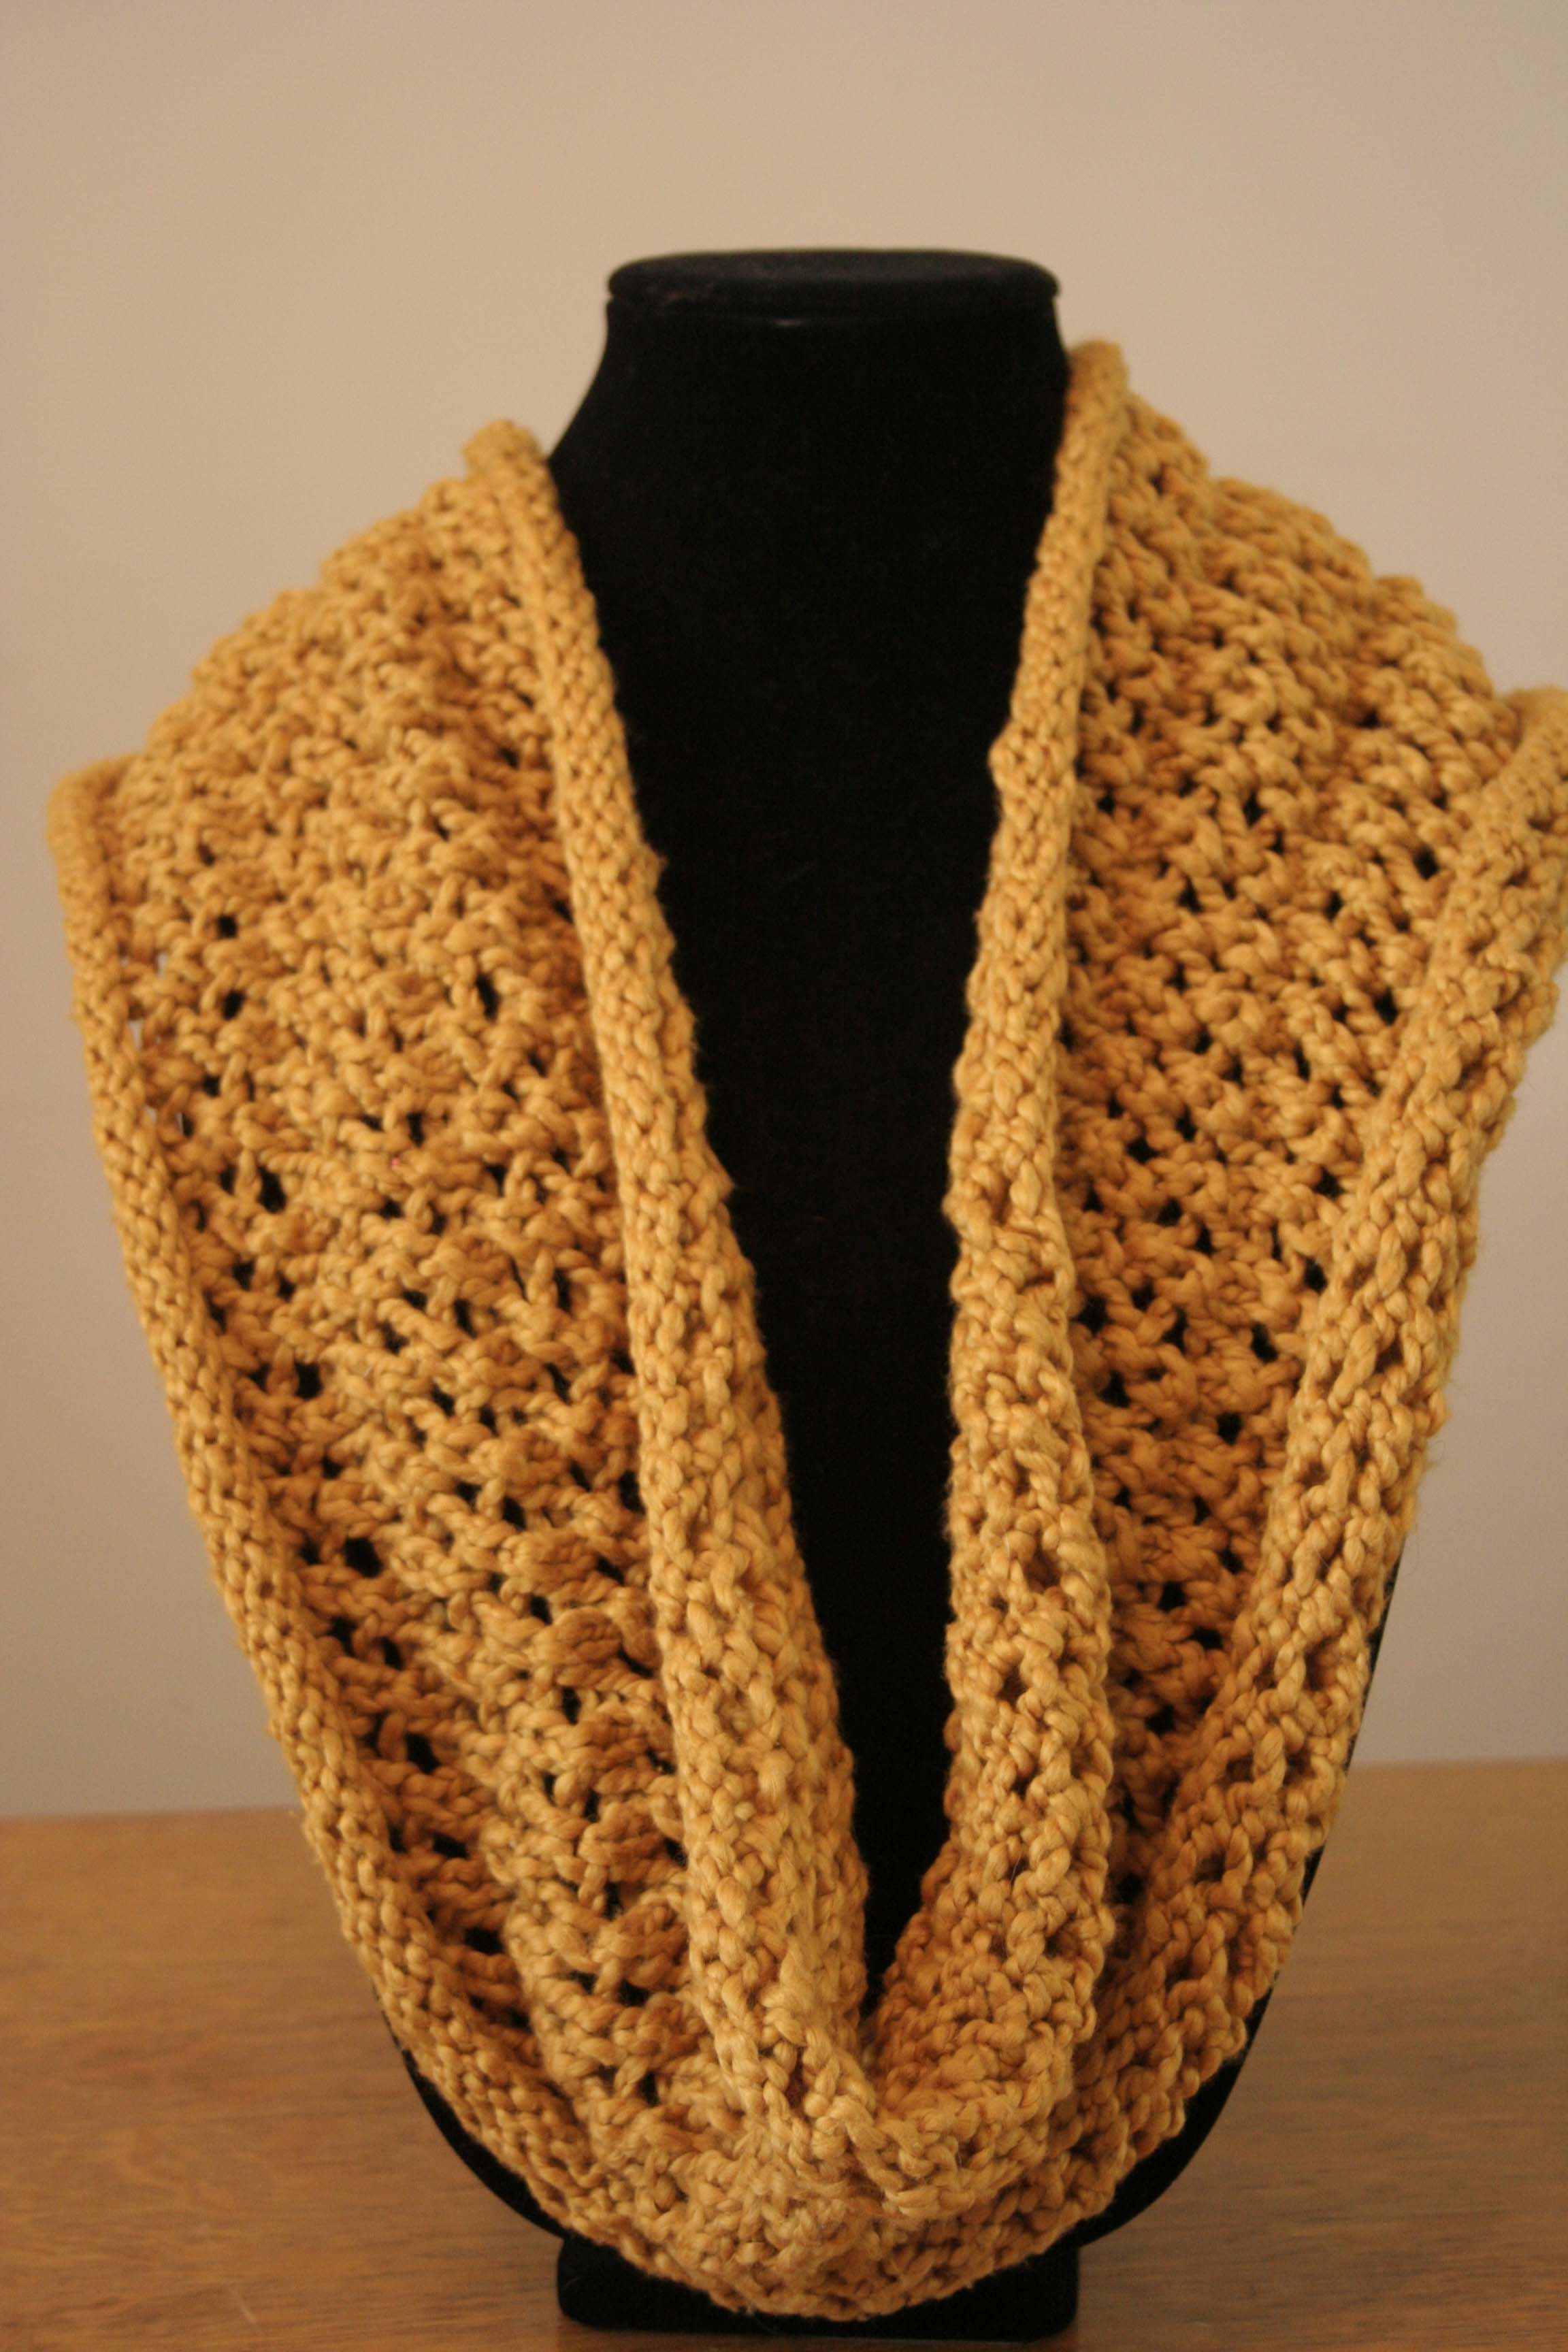
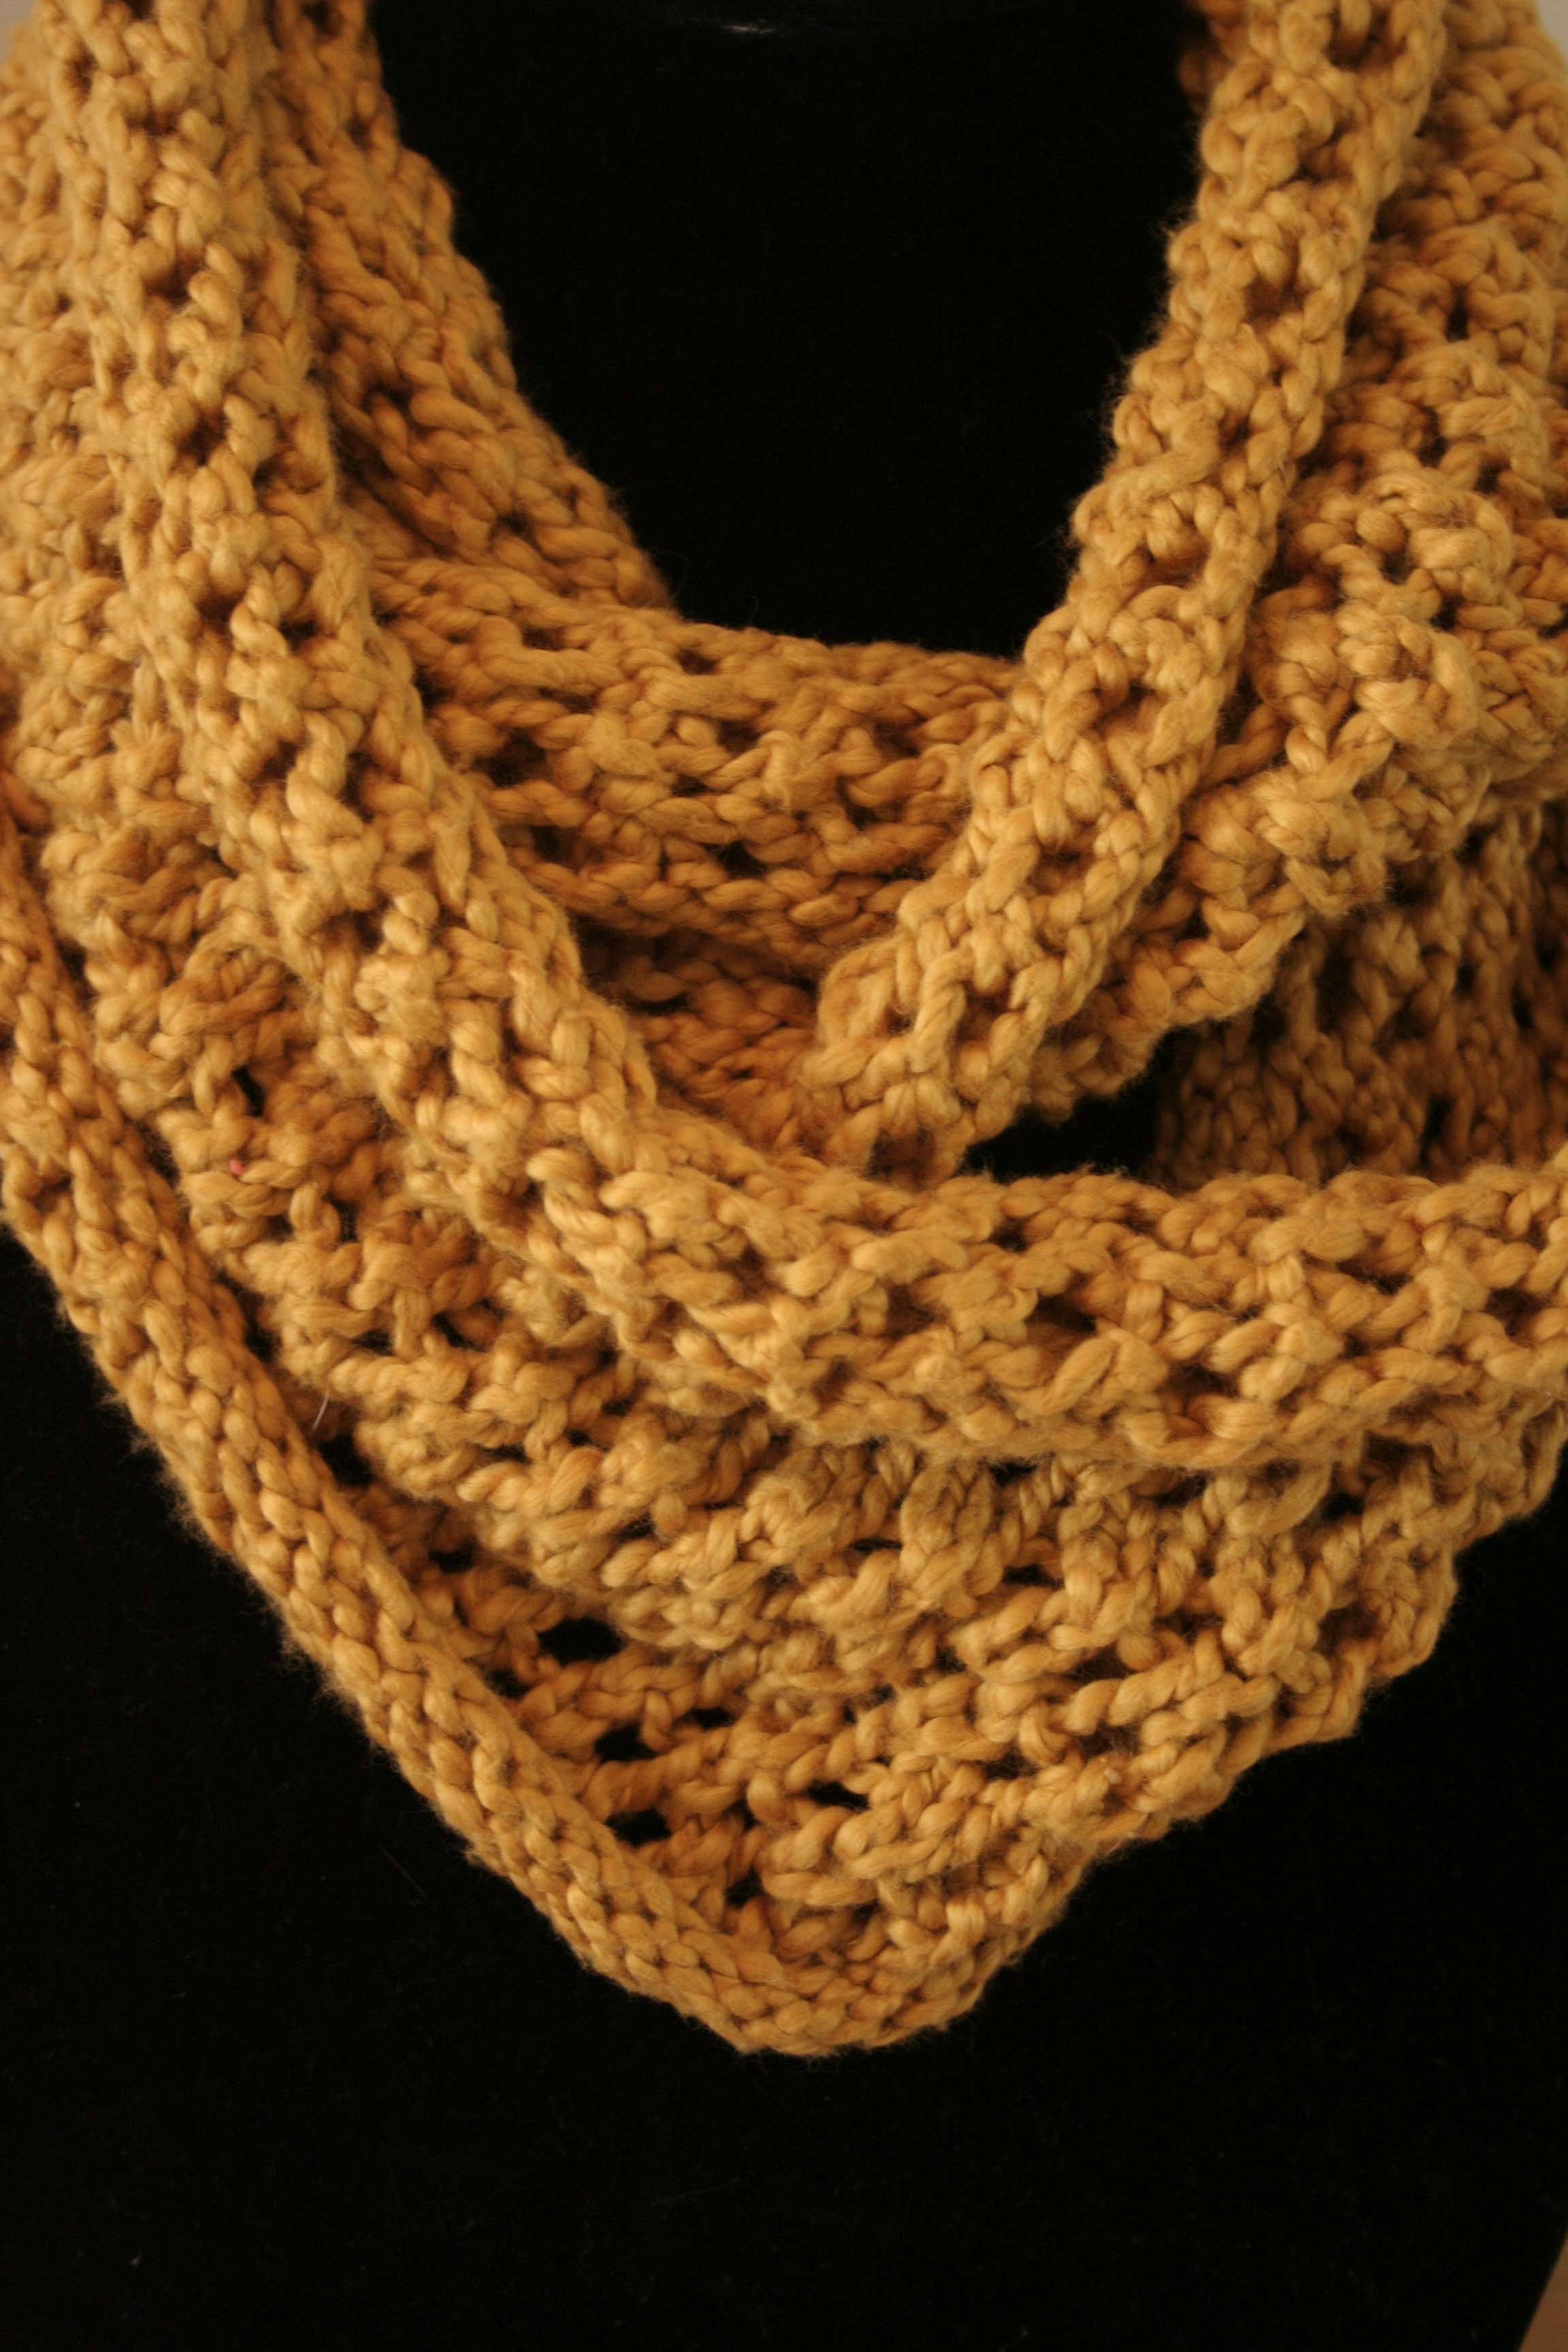
I think the corrections are hardly noticeable when looked at the garment as a whole. Stashbustin’ #18 is officially complete! I hope to snag the husband some night this week so I can get some shots of this garment in action!!

Happy Monday and Happy Knitting!!

Mud Season #2

Sometimes you just find a pattern that speaks to you, is fun to knit, and flatters your figure. In my recent knitting, this has been Mud Season. I had the yarn in my stash so I started a second one this week as a vacation project and Stashbustin’ #17. My friends think I’m crazy for knitting sweaters in summer when the temps are hitting the 80s and 90s. But I like to knit what speaks to me no matter the season, lol.

I’ve got my second Mud Season off the needles, washed, blocked, and photographed!

_MG_0386

Being wiser and smarter the second time around, I made a few deviations from the pattern instructions:

– I used a crochet cast on method in the beginning and when I cast on the additional stitches before joining in the round. In my first attempt I used a knitted cast on method. With the dark yarn it was hard on my first sweater to find the stitches when I went to pick up and knit the neckline and therefore the neckline was tighter. The crochet cast on was a neater line and made picking up stitches much easier. You can also see that the neck is more open than on my first Mud Season.

– I paused knitting the body just after I divided for the arms and had knit about 10 rows down. I wanted to maximize the yarn at the bottom of the sweater without having to worry about running out and not being able to make the neckline or the sleeves. It actually worked pretty well and I liked not having to go back do those at the end.

– I have a long torso and wide hips. I’m of Scandinavian decent and these are the gifts of my ancestors. My first Mud Season was a bit short for me and tight across my hips. I wanted to change up the increases at the bottom of the sweater to make it more flattering. When I got to the increases I worked the following:

  1. Increase round
  2. Knit 5 rounds
  3. Increase round
  4. Knit 5 rounds
  5. Increase round
  6. Knit 6 stockinette rounds
  7. Increase round
  8. Knit 6 stockinette rounds
  9. Increase round
  10. Knit 6 stockinette rounds
  11. Increase round
  12. Knit 6 stockinette rounds
  13. Increase round
  14. Knit 1 stockinette round
  15. Work ribbon as instructed in pattern.

I love this pattern and will probably stay in my rotation as a “go-to” sweater and gift knitting. It’s just the right mix of fun and easy that I can watch TV or a movie or even carry on a conversation. Not to mention it’s a very quick knit!

_MG_0385


_MG_0379


Happy Knitting!!!

FO Friday: Simple Stockinette Blanket

20130320-094851.jpg

I’m finished with Stashbustin’ #9. This was one of my less than enjoyable knitting projects. I started here, then changed course here, finally made at least some progress here, and thus leaving me utterly done with this project!

It really did need a third skein of yarn. But I just couldn’t bare the thought of continuing to work on this blanket, so I just cast off.

20130320-095706.jpg

I ended up with roughly a 55 inch long by 32 inch wide strip of knitting. I’m thinking lap blanket??? Who the heck knows…

20130320-095827.jpg

Folded in half it makes two appropriately sized baby blankets. Maybe I should get a pillow insert and seam around it for a pillow cover?

20130320-100010.jpg

I did learn a few things from this experience:

A) Always check gauge or risk ending up with a wonky size

B) I learned how I need to treat chenille for both maximum stitch definition and fabric quality

C) I should listen to my mother

I WILL work with this yarn again. I just need a better game plan next time! But now this project is done and I can focus on my raglan cardi.

TGIF and Happy Knitting!!

WIP Wednesday: Stockinette Baby Blanket

Stashbustin’ #9

I have made some great progress on my Simple Stockinette Baby Blanket in Bernat Baby Blanket. Especially since I got snowed in at my parent’s house this past weekend and it’s the only project I took with me. The alterations I made in my previous post have really helped. It’s not the best blanket in the world, but I feel victorious for surviving thus far without incoherent babbling!!

photo (4)

Having said that…..I am improvising this pattern and I did not swatch for gauge. (Please see previous WIP post where I was bragging about swatching my cardi…) I do realize that gauge has significant implications but my knitterly brain just refused to accept that reality in some projects. The resulting WIP blanket is proving to be coming out enormously wide. My calculations have blanket coming out at 50 in long and 30 in wide or vice versa.

photo (2)


I have decided to roll with the punches and call this an “unintentional design feature”‘ I am on my second skein if yarn and I think I’m just going to knit until I get to the end of it. My mom took only look at my progress and declared I should use three. Sadly she is right and I know it. But I just can’t keep working on this hot mess of a project. Lesson learned: I shall not improvise a project without first checking gauge and dimension! I am just going to finish what I have (should even be able to cast off this project before the weekend) and move on!!

Anybody need a wonky shaped blanket? (I am the master of my own knitting, at least according to the Yarn Harlot!)

Happy Knitting!

FO: Rachelle’s Cowl

_MG_0334

Another new pattern! I was so inspired by Mere’s Cowl that I wanted one of my own. This design is of similar construction as Mere’s but with a little different twist.

I started with a simple knit stockinette section and then incorporated the same eyelet section as Mere’s. This was a SUPER fast knit, especially with the stockinette sections. The stockinette section does make the edges roll, but I kinda don’t mind that style? I like that it kinds of rolls up on itself it makes it super comfy and warm and cozy. The knit band and lace section is repeated four times to create 48 inch long by 8 inch wide finished object.

_MG_0332

I wore this to work last week and I got LOTS of attention and compliments. The only downside is that due to the rolling property it does need a light blocking after a few wears, just to keep the shape. I really love it though. I have launched it as a free pattern on Rav, find the link here!

And for you non-Ravelers, the pattern is also listed below:

Rachelle’s Cowl

Materials

– Lion Brand Nature’s Choice Organic Cotton – 2 skeins Mustard (approx 3.00 oz or 103 yds each)

– US size 8 circular needle (16”)

– Stitch marker

– Tapestry needle

Cowl

CO 150 sts using loop cast on method, careful not to twist. Place marker

1: Join in the round, place marker and knit one round.

2-4: Knit

5: *YO, K2tog, repeat from * to end

6: Knit

7: *K2tog, YO, repeat from * to end

8: Knit

9: *YO, K2tog, repeat from * to end

10: Knit

11: *K2tog, YO, repeat from * to end

12-14: Knit

15: *YO, K2tog, repeat from * to end

16: Knit

19: *K2tog, YO, repeat from * to end

20: Knit

21: *YO, K2tog, repeat from * to end

22: Knit

23: *K2tog, YO, repeat from * to end

24-26: Knit

27: *YO, K2tog, repeat from * to end

28: Knit

29: *K2tog, YO, repeat from * to end

30: Knit

31: *YO, K2tog, repeat from * to end

32: Knit

33: *K2tog, YO, repeat from * to end

34-36: Knit

37: *YO, K2tog, repeat from * to end

38: Knit

39: *K2tog, YO, repeat from * to end

40: Knit

41: *YO, K2tog, repeat from * to end

42: Knit

43: *K2tog, YO, repeat from * to end

44: Knit

45-47: Knit

Cast off LOOSELY in purl.

Weave in ends.

Resulting cowl is 48” long approximately 8” wide.

Knit and enjoy!

_MG_0335

_MG_0333


* Pattern numbering amended 3/9/13

Movie Theater Knitting

I hate sitting still doing nothing. And I married a man who loves movies. See my dilemma? Insert movie theatre knitting projects. I generally favor ruffle scarves and stockinette projects.

In the last month the husband has taken me to see Flight with Denzel Washington and the Oscar nominated Life of Pi. I cast on a simple stockinette tube to make a case for my workout mat.

20130223-130031.jpg

Round and round she went in circles. Made with Sugar N Cream cotton in bright pink. I knit until I had a tube 2 inches longer than my mat and then started simple K2tog decreases to taper the end. I also threw in a few yarn overs in the 5th row to make eyelets to feed through a cord for a closure. Finished off with a garter strap for carrying.

<img src="https://atangledyarnknitter.com/wp-content/uploads/2013/02/20130223-130431.jpg" alt="20130223-130431.jpg" class="alignno

20130223-130513.jpg

I could feel the stitches on my needles and therefore no need to have light to work. The tube was almost completely made in the theatre. The finishing bits I did complete at home with the aid of light. It stretched a bit in the strap but I don’t mind. It still keeps my mat from getting gunky. I also love that it’s washable cuz it takes quite a beating as I drag it back and forth to the gym.

What do you knit in the movies, or do you?