Update: Stashbustin’ #25

Baby Sophisticate is rocking and rolling! This is Stashbustin’ #25 in my queue of projects.

20130821-153030.jpg

This pattern is amazingly easy! Why did I wait so long to get started? A few hours and I’ve already divided for the body! Gotta love worsted weight yarn on size US 8 needles. And this project definitely soothes my recent bout of baby fever… 🙂

I predict a FO in my very near future!!

The Beginning of Neon

Due to some good advice this past week from another blogger, I decided not to wait to cast on my Stashbustin’ #21, my Neon cardigan!

Being a good knitter, I swatched!

20130625-205948.jpg

20130625-210001.jpg

Two things learned:

1) I need sharp metal needles, bamboo won’t do. This Berroco Pure Pima can be splitty and wood or acrylic exacerbated this.

2) I did not get gauge (need to try again when I get a new set of metal needles)

3) This pattern is incredibly easy to get off and even in my swatch I know I made mistakes

Sigh…I am not deterred. But I admit I might need a glass of wine before I re-swatch. I really love this garment and want something that will fit when I am done. Gauge will not defeat me!!

Happy Monday

Stashbustin’ #21: Neon

I really really really really want to start this sweater!

20130620-152759.jpg
(Photo from Joji’s Ravelry page)

It Neon by Joji Locatelli. And I have the most wonderful green Berroco Pure Pima all caked up and ready to go!

Just a couple of problems…

1) Stashbustin’ 15 or my Ombré Billow Blanket is soooo close to being done, but it’s not quite finished.

2) Stashbusting’ 20 or my Spiral Staircase Shawl is only 1/2 done and waiting for me in the bottom of my project bag.

I love both of these projects and I am enjoying working on them, but…..there’s always a but! I know that I could easily become addicted to Neon and forgo working on anything else. Which I normally don’t do! So in the effort to love all my knitted children equally I vow to finish the Billow blanket and get at least 3/4 done on the shawl before working on my Neon.

I feel like its the appropriate carrot on the end of the stick to power me through these two current WIPs!

Happy Tuesday!!

FO: Shalom Cardigan

Here she is! Stashbustin’ #18 aka Shalom Caridgan finished and thanks to the husband photographed!!

_MG_0007

This is an awesome pattern! Just as an aside this is only written for a small/medium size or 32″ bust. My chest is a bit bigger than that so I followed the author’s suggestions and tweaked the pattern for my needs.

  1. I used a 10 1/2 US or 6.5 mm needle.
  2. I used a 7 stitch garter border by simply adding two stitches to beginning and end of each row. This added just enough to make the sweater close comfortably across the top my 37 1/2 inch bust.
  3. I worked a three stitch button opening to accommodate my larger button.
  4. I worked an extra decrease section (row 83 followed by rows 48 & 49 alternating for 7 rows) at the bottom after row 105
  5. I knit 7 rows garter bottom border in order to match the length of the collar instead of the 9 rows in the pattern.

I did dork up the garter border a bit. See my 911 post here and my fix here. But all in all I’m very happy. This will look great over a tank (as pictured) or thrown over a long sleeve tee in the fall/winter. Not sure I would re-knit this particular pattern but it’s a great addition to my wardrobe.

_MG_0009

_MG_0010

Sweater 911: The Fix!

Remember my sweater 911 from last week? I mistakenly knit part of my garter edge as a stockinette edge. It looked something like this….

oops


After some hemming, hawing, and wine drinking I decided on a fix. I picked up my yarn and tapestry needle and went to work. I ended up with something like this..

_MG_0431


I cut a length of my leftover yarn and threaded on my tapestry needle. With the right side facing me I simply stitched over and around each one of the 7 edge stitches with a whip-like stitch creating the top of a faux purl like bump. When I reached the stockinette section I turned the work around and stitched back across but this time staggered by half a stitch. This way I could create the bottom of the row to create the look of garter stitch. It didn’t turn out as perfectly as I wanted but it definitely looks better then when I started.

_MG_0433

I think the corrections are hardly noticeable when looked at the garment as a whole. Stashbustin’ #18 is officially complete! I hope to snag the husband some night this week so I can get some shots of this garment in action!!

Happy Monday and Happy Knitting!!

Sweater 911

I was sooo happy to finish my Shalom Cardigan (Stashbustin #18) that I snapped a few quick photos with my iPhone….

photo (5)


photo (6)


I was so happy and excited! It fit great and I had the perfect button for it….and then I found them! Did anyone notice the two glaring mistakes in my sweater above? Here is one of them….

oops


I totally messed up the sweater edge/ribbing. I know exactly what I did, I was on a purl row and purled row all the way across…sigh. This happened in two obvious places. I didn’t even notice until I was ALL the way done and bound off and washed/blocked.

After much brainstorming (drinking a little wine) and consulting of the online tutorials and blogs, I have settled on a solution. I have lots of yarn left over. So I am going to cut a small length and with a tapestry needle sew over the stockinette stitch to create an artificial garter ridge. So that is my mission today is to fix these oops.

Wish me luck! I hope to have a success story to share with you later….fingers crossed!!

WIP Wednesday: Shalom Cardigan


Stashbustin’ #18 update!

20130602-161658.jpg


Here is a shot from the front…

20130602-161707.jpg

And the back….

I’m almost done with my Shalom Cardigan! This was an extremely quick knit (once I started knitting monogamously on it). I’m at the end of the pattern (sans garter border) as it’s written. It’s still a bit short on me and I have yarn enough to keep going. So I think I am going to add at least one more increase pattern repeat if not two to get the length past my hips. Then it’s just the garter border, a good wash, block, and dry then viola! I’m done!  This might even make FO Friday….fingers crossed!

What’s on your WIP list this week? Anything exciting?

Happy Knitting!


Mud Season #2

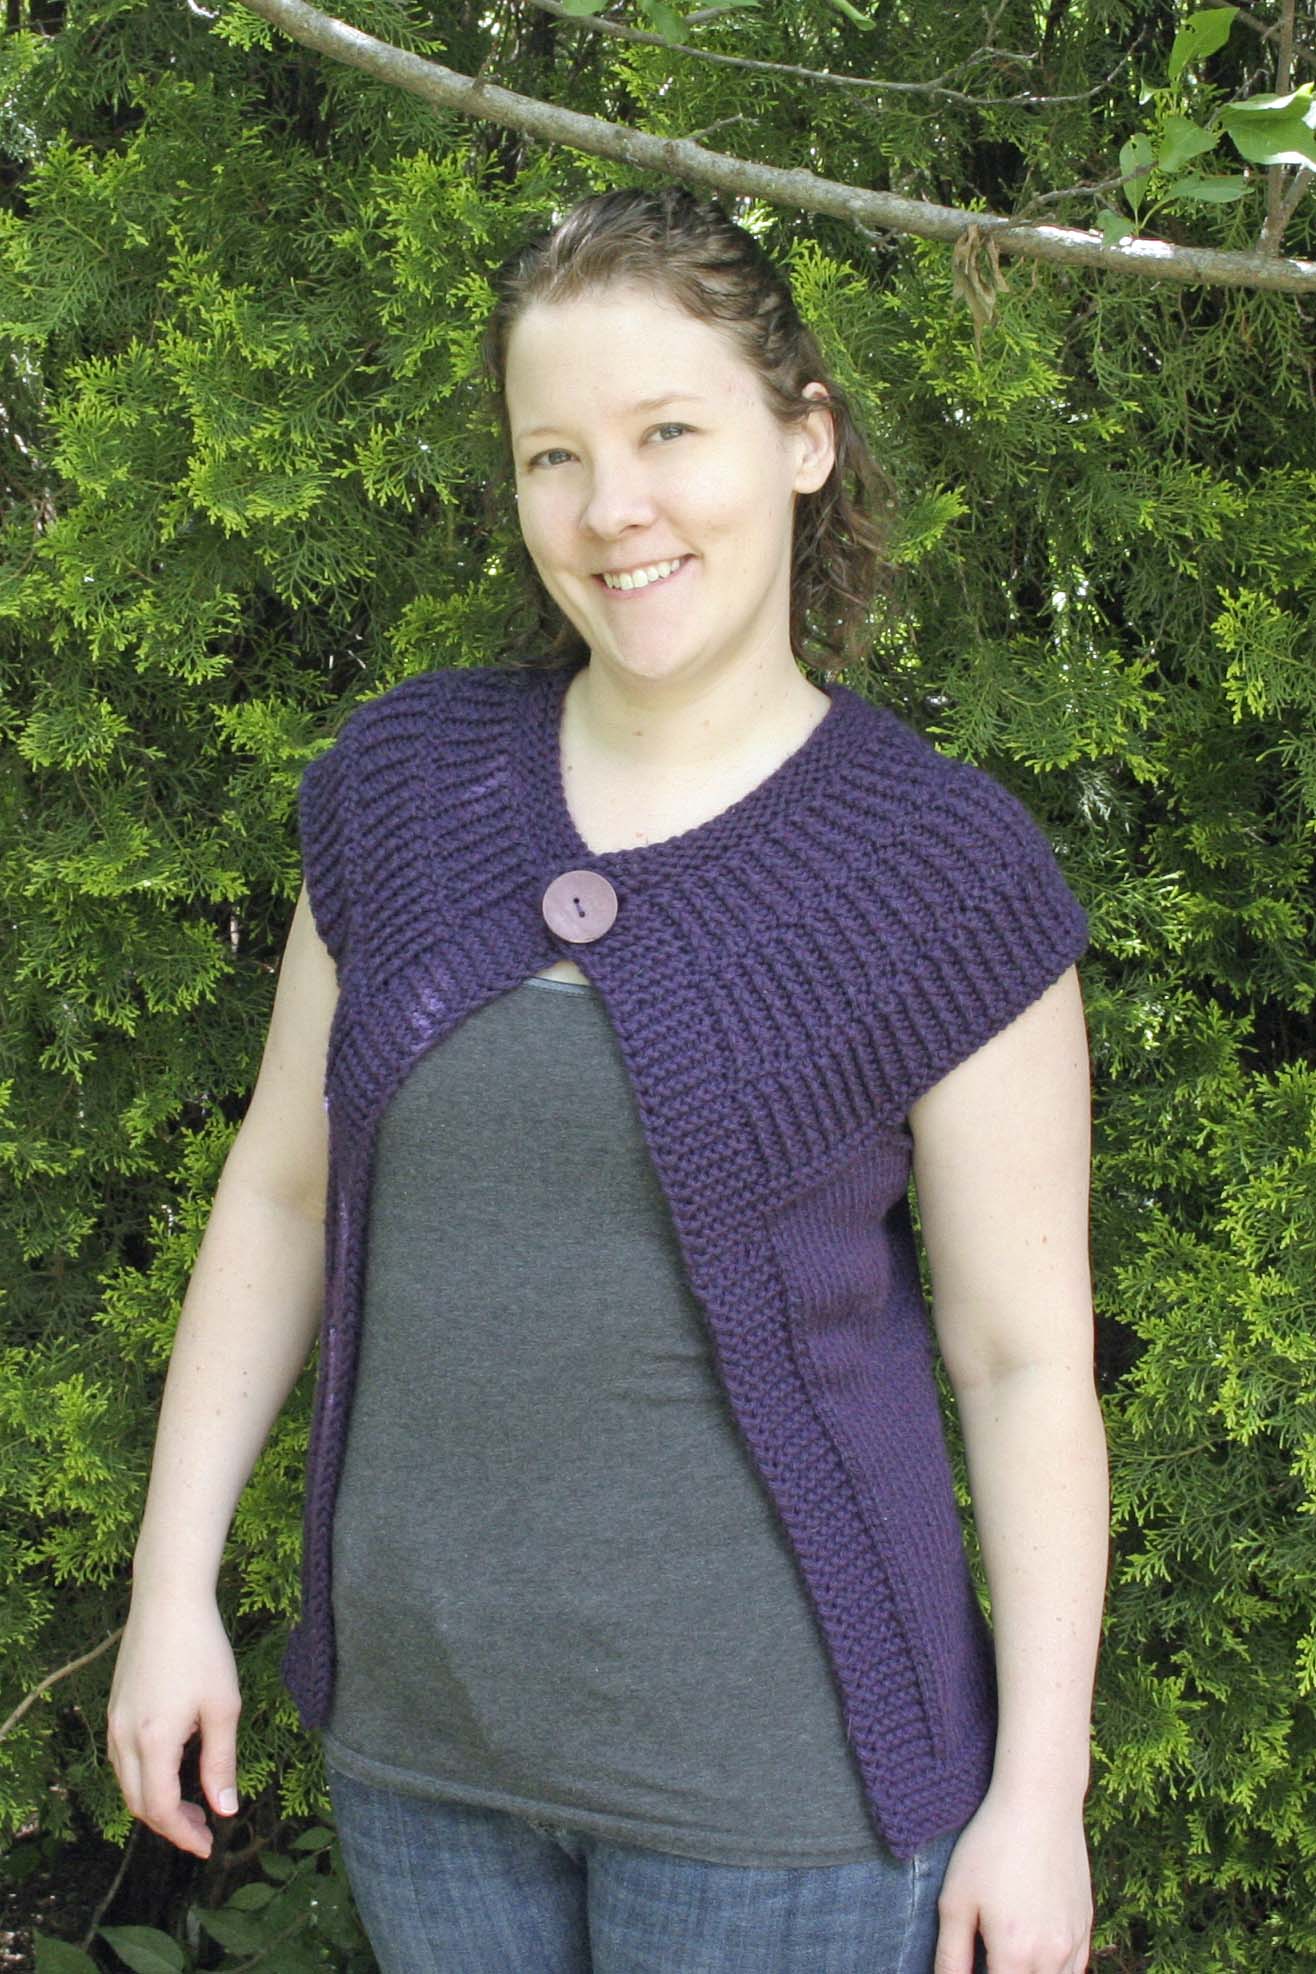
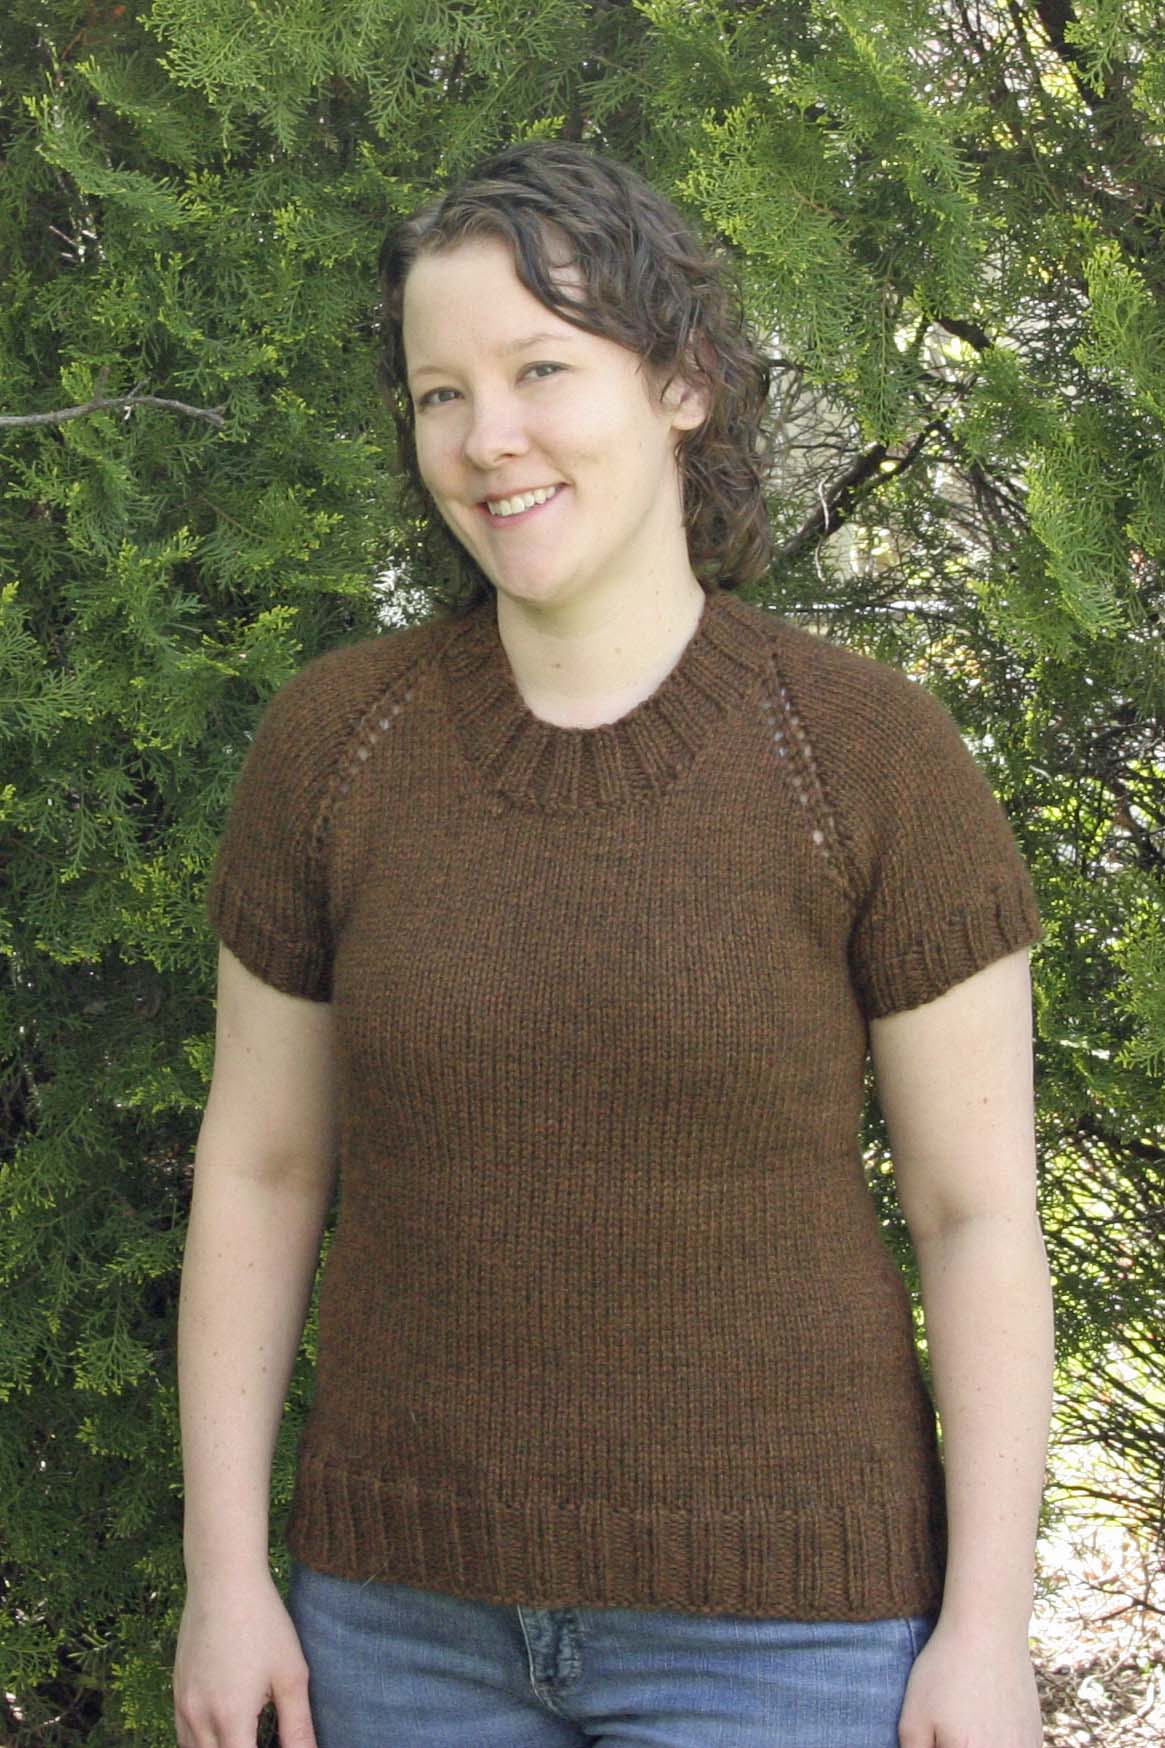
Sometimes you just find a pattern that speaks to you, is fun to knit, and flatters your figure. In my recent knitting, this has been Mud Season. I had the yarn in my stash so I started a second one this week as a vacation project and Stashbustin’ #17. My friends think I’m crazy for knitting sweaters in summer when the temps are hitting the 80s and 90s. But I like to knit what speaks to me no matter the season, lol.

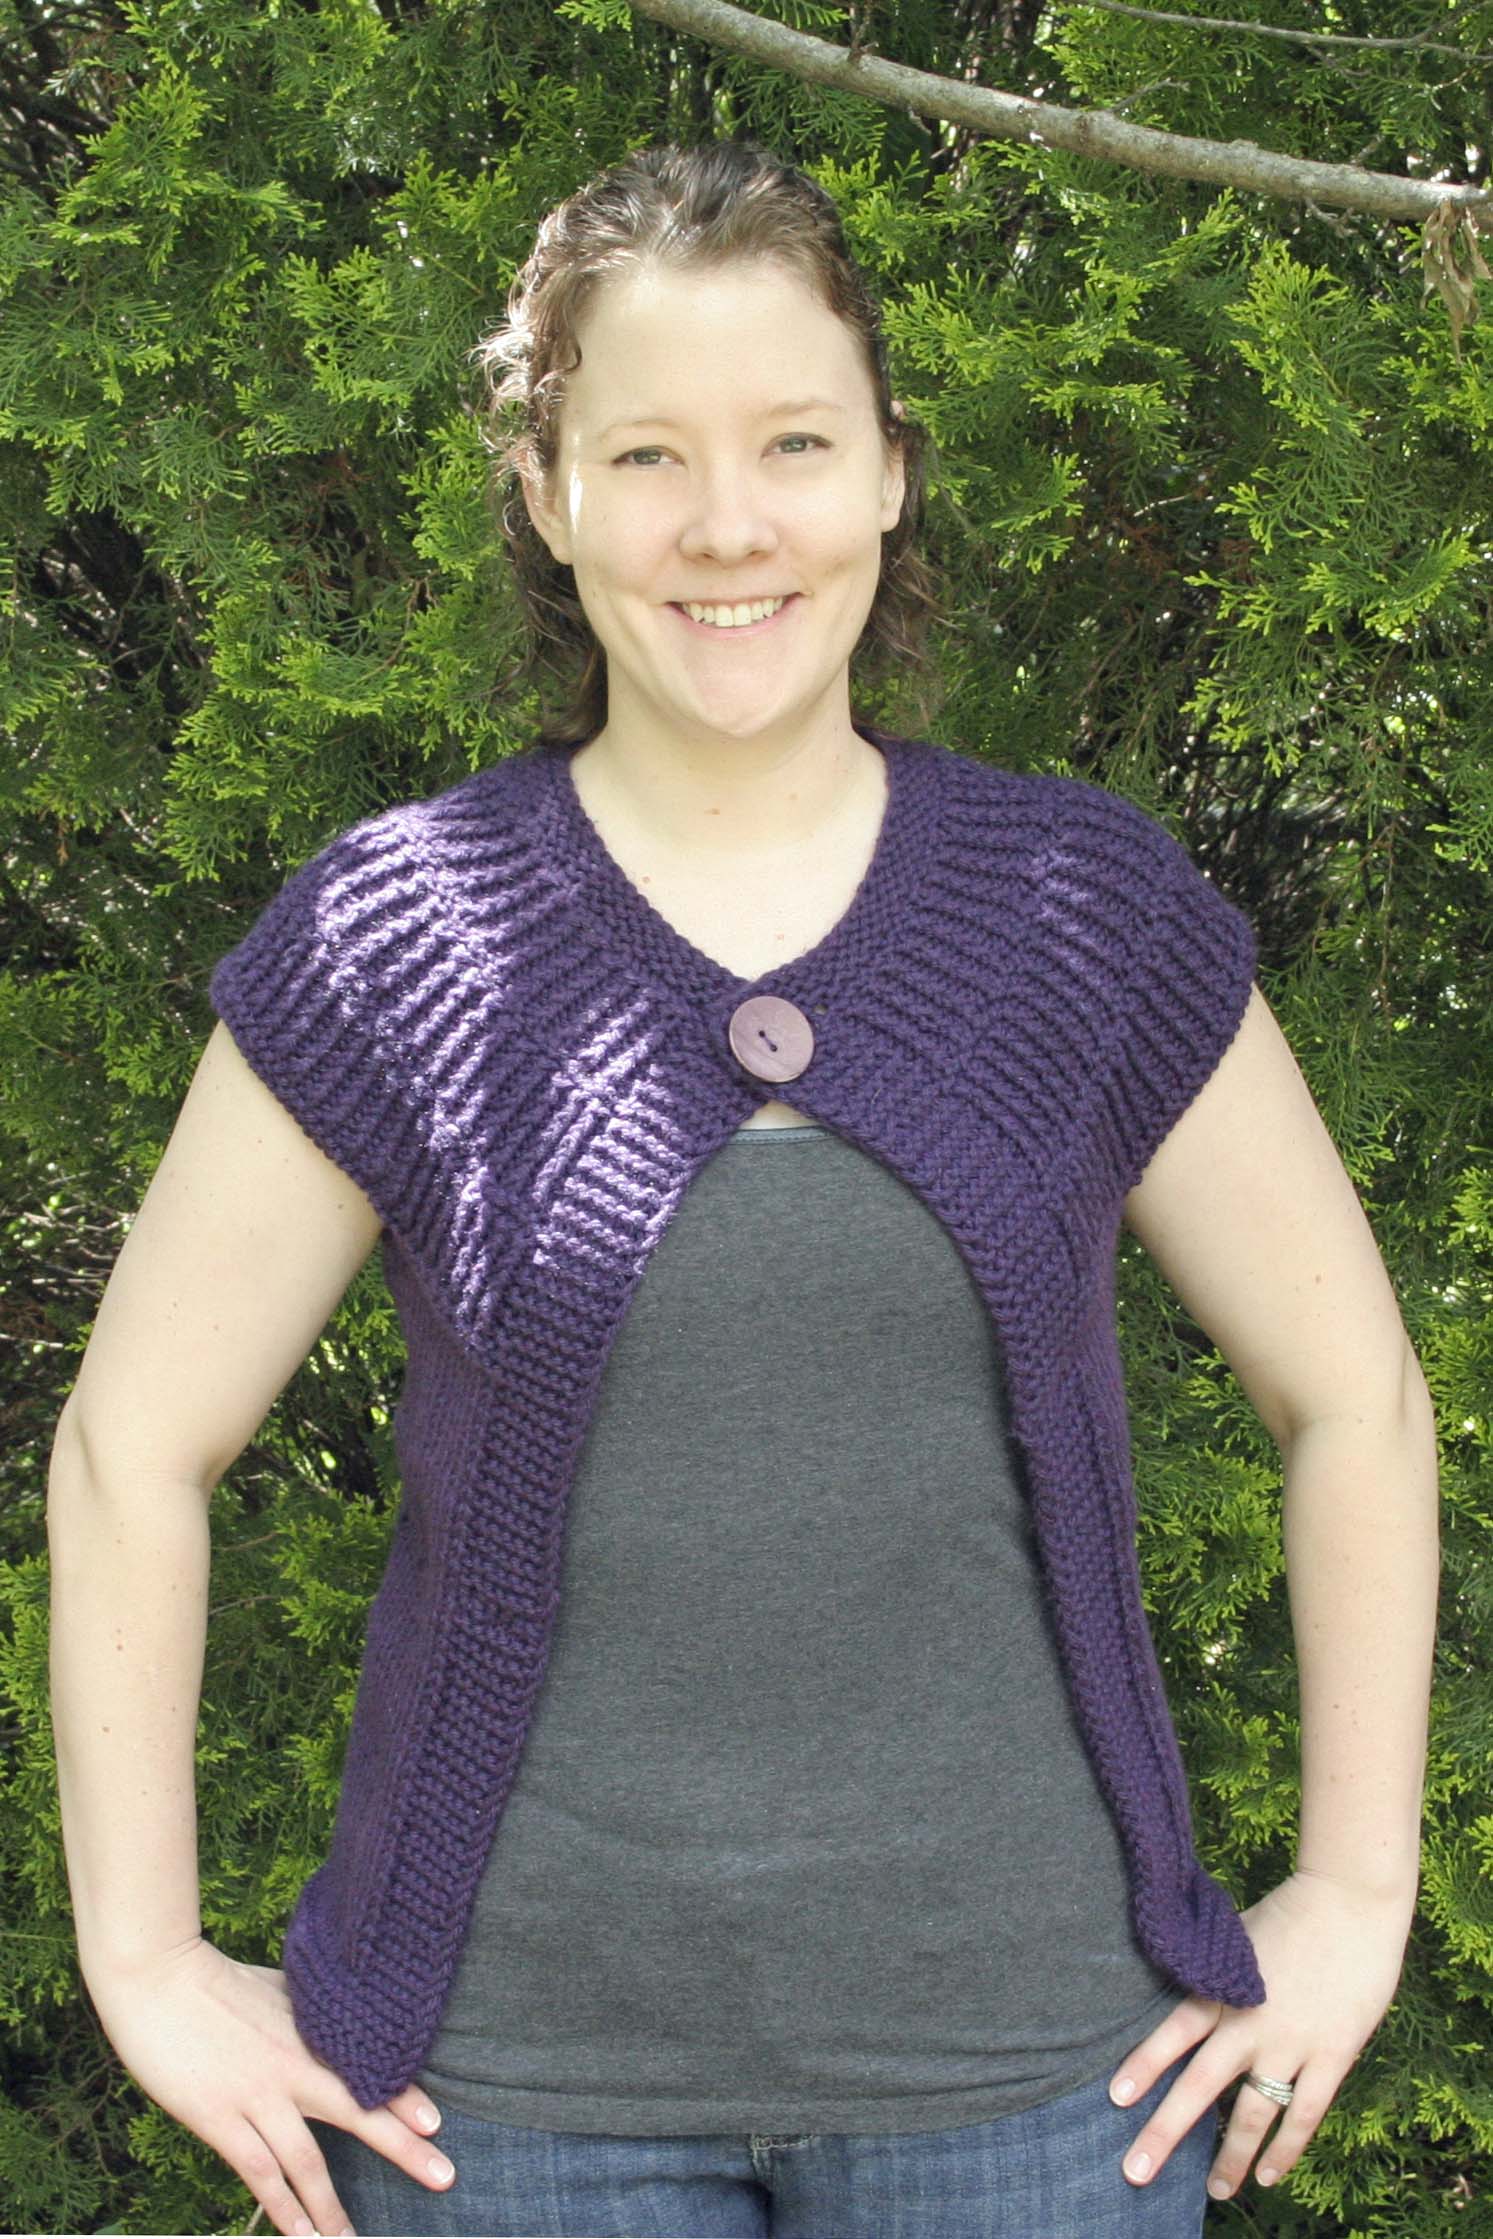
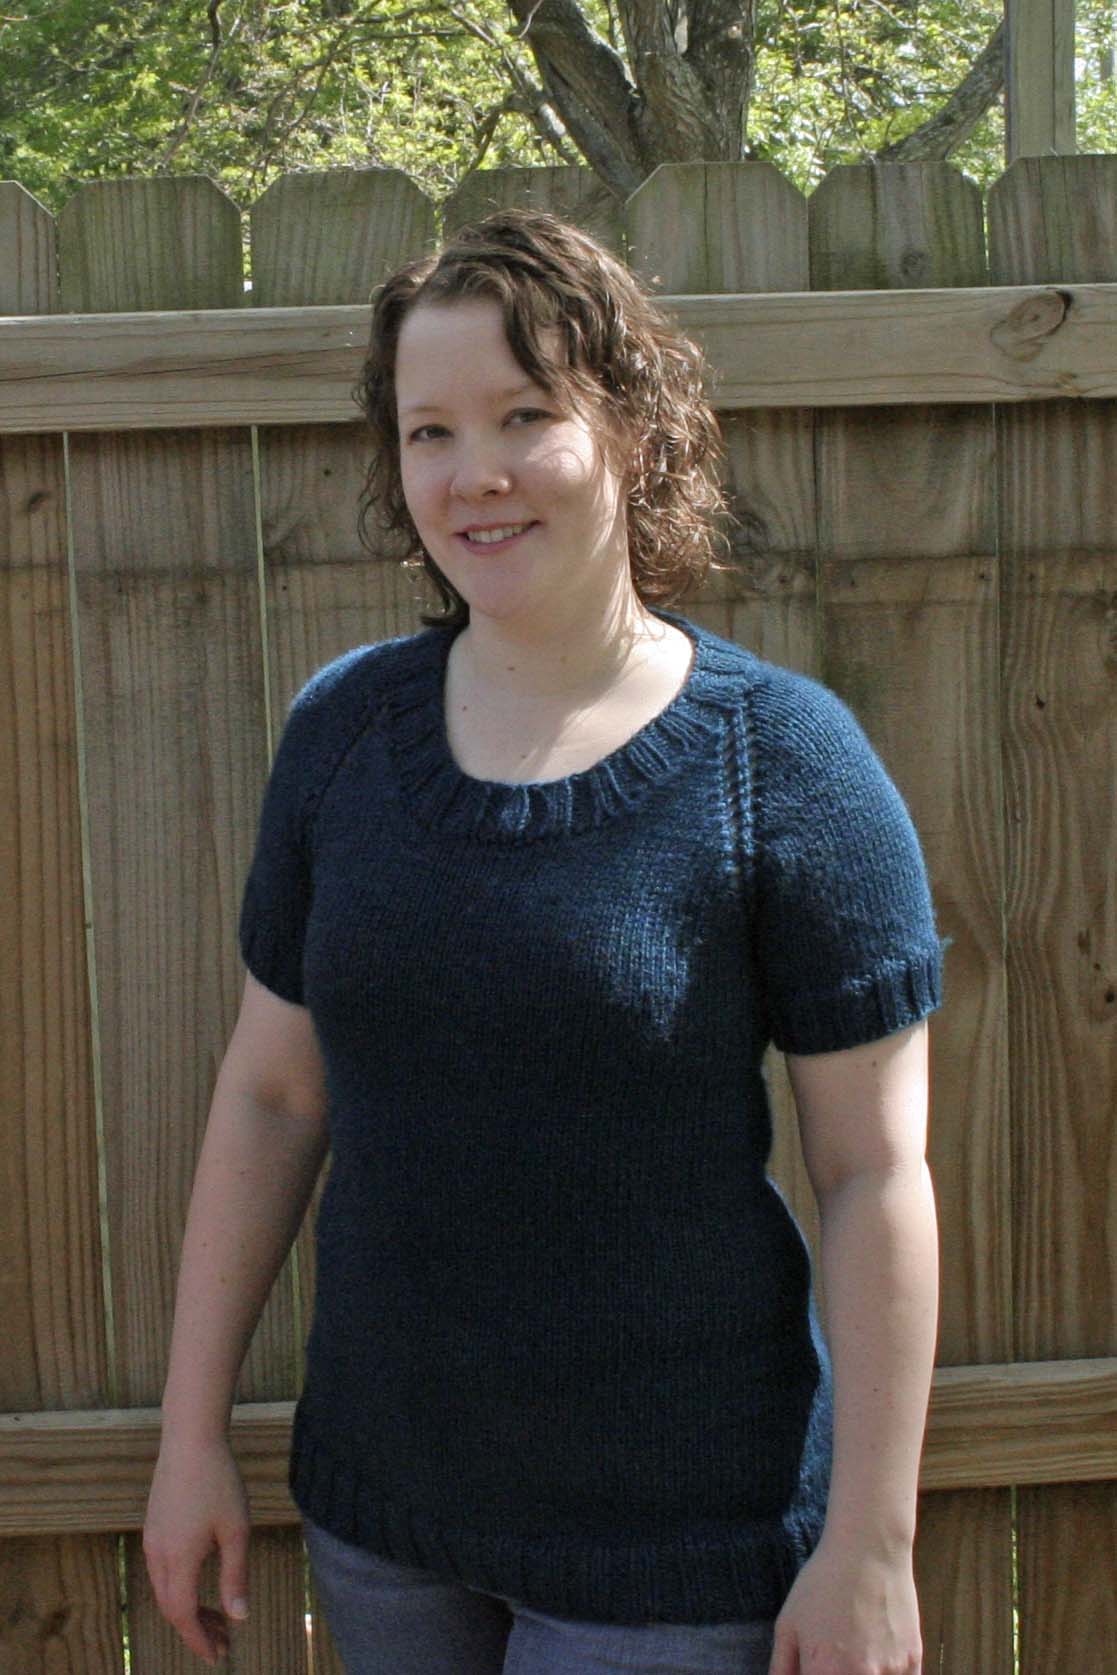
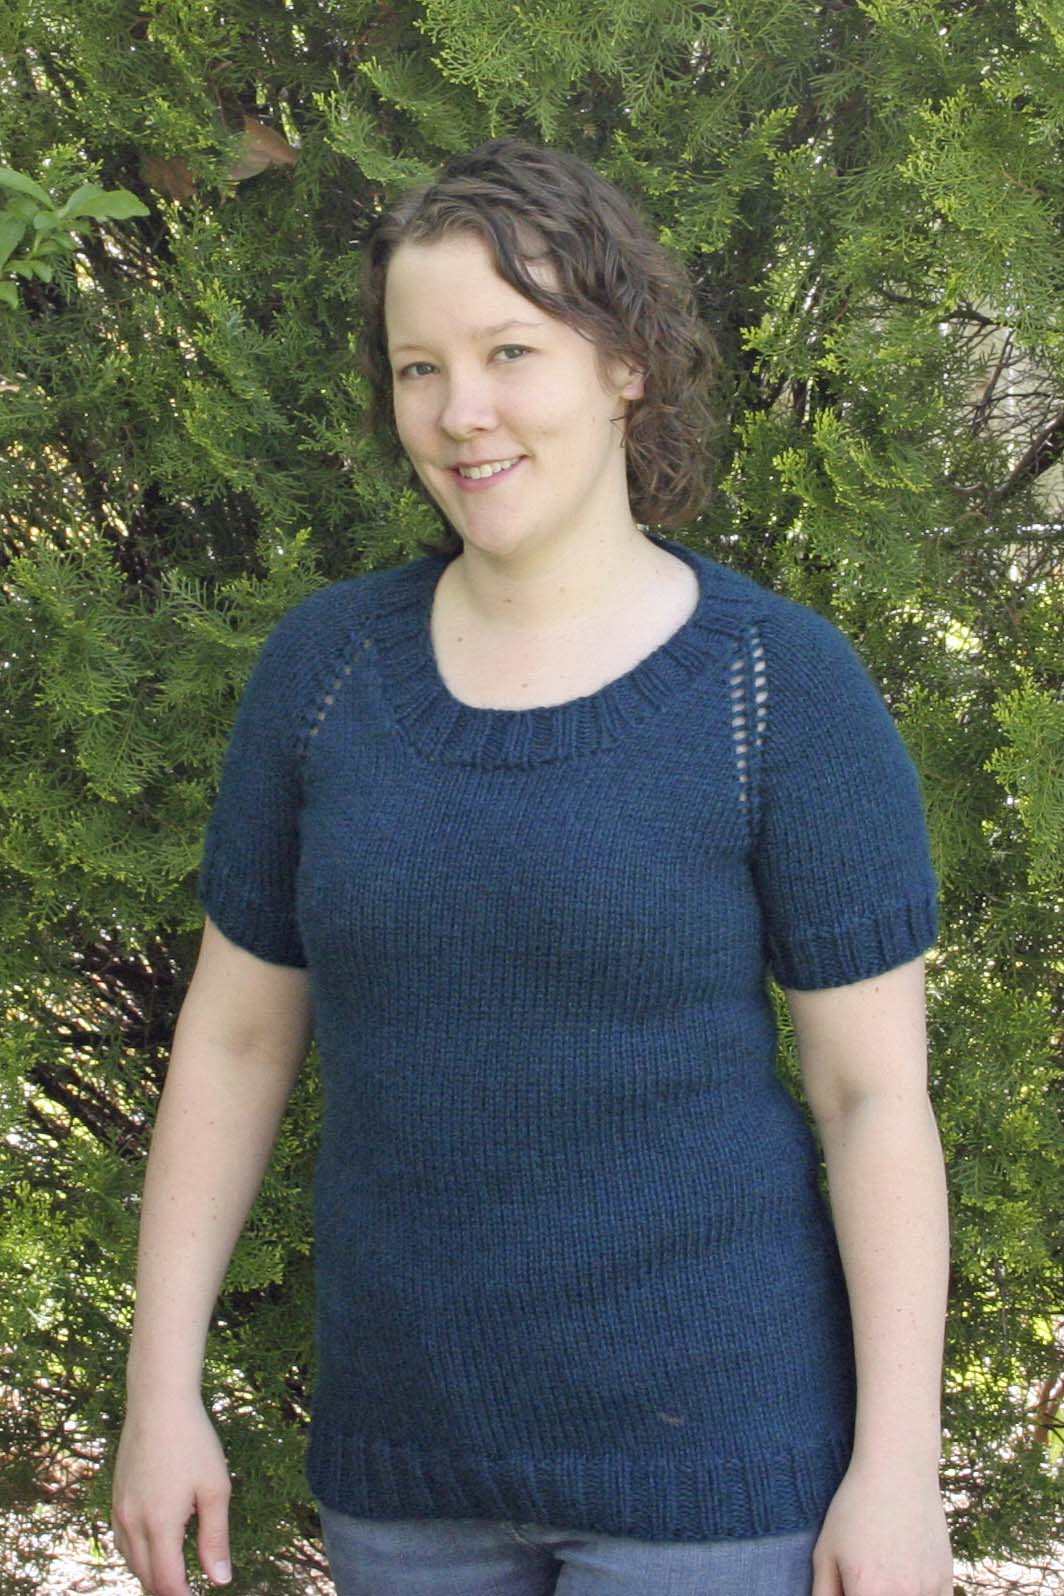
I’ve got my second Mud Season off the needles, washed, blocked, and photographed!

_MG_0386

Being wiser and smarter the second time around, I made a few deviations from the pattern instructions:

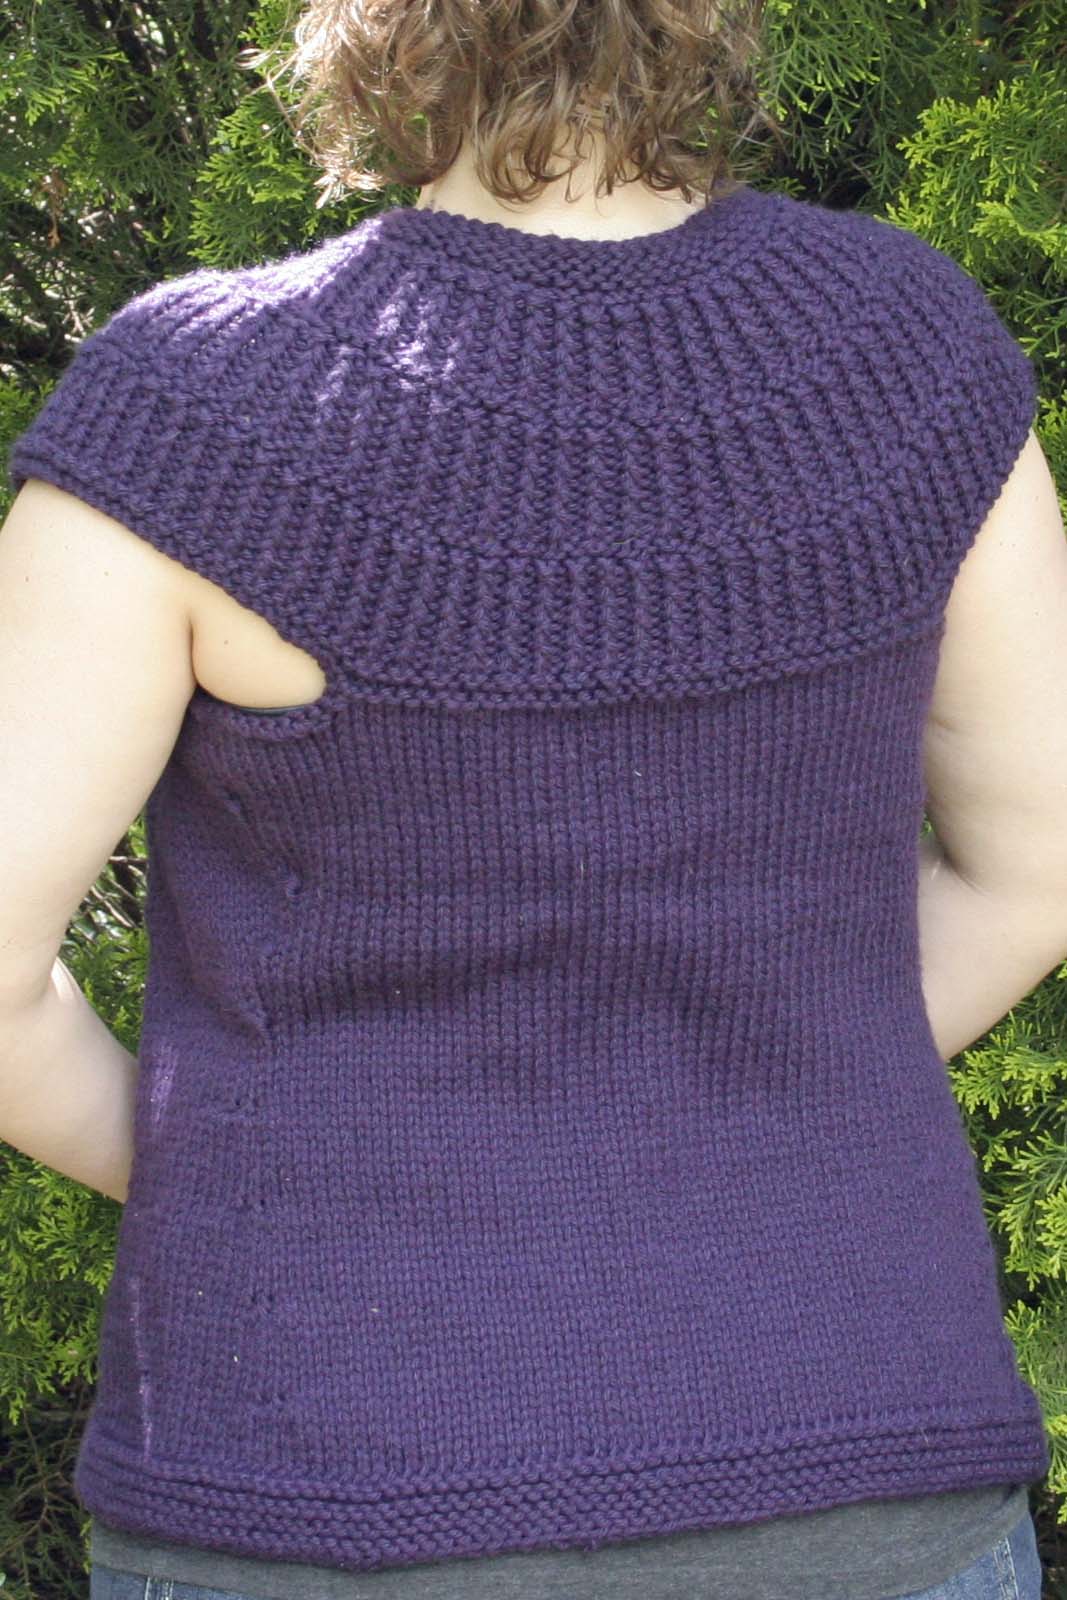
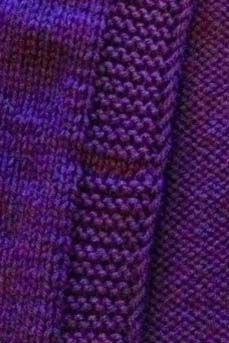
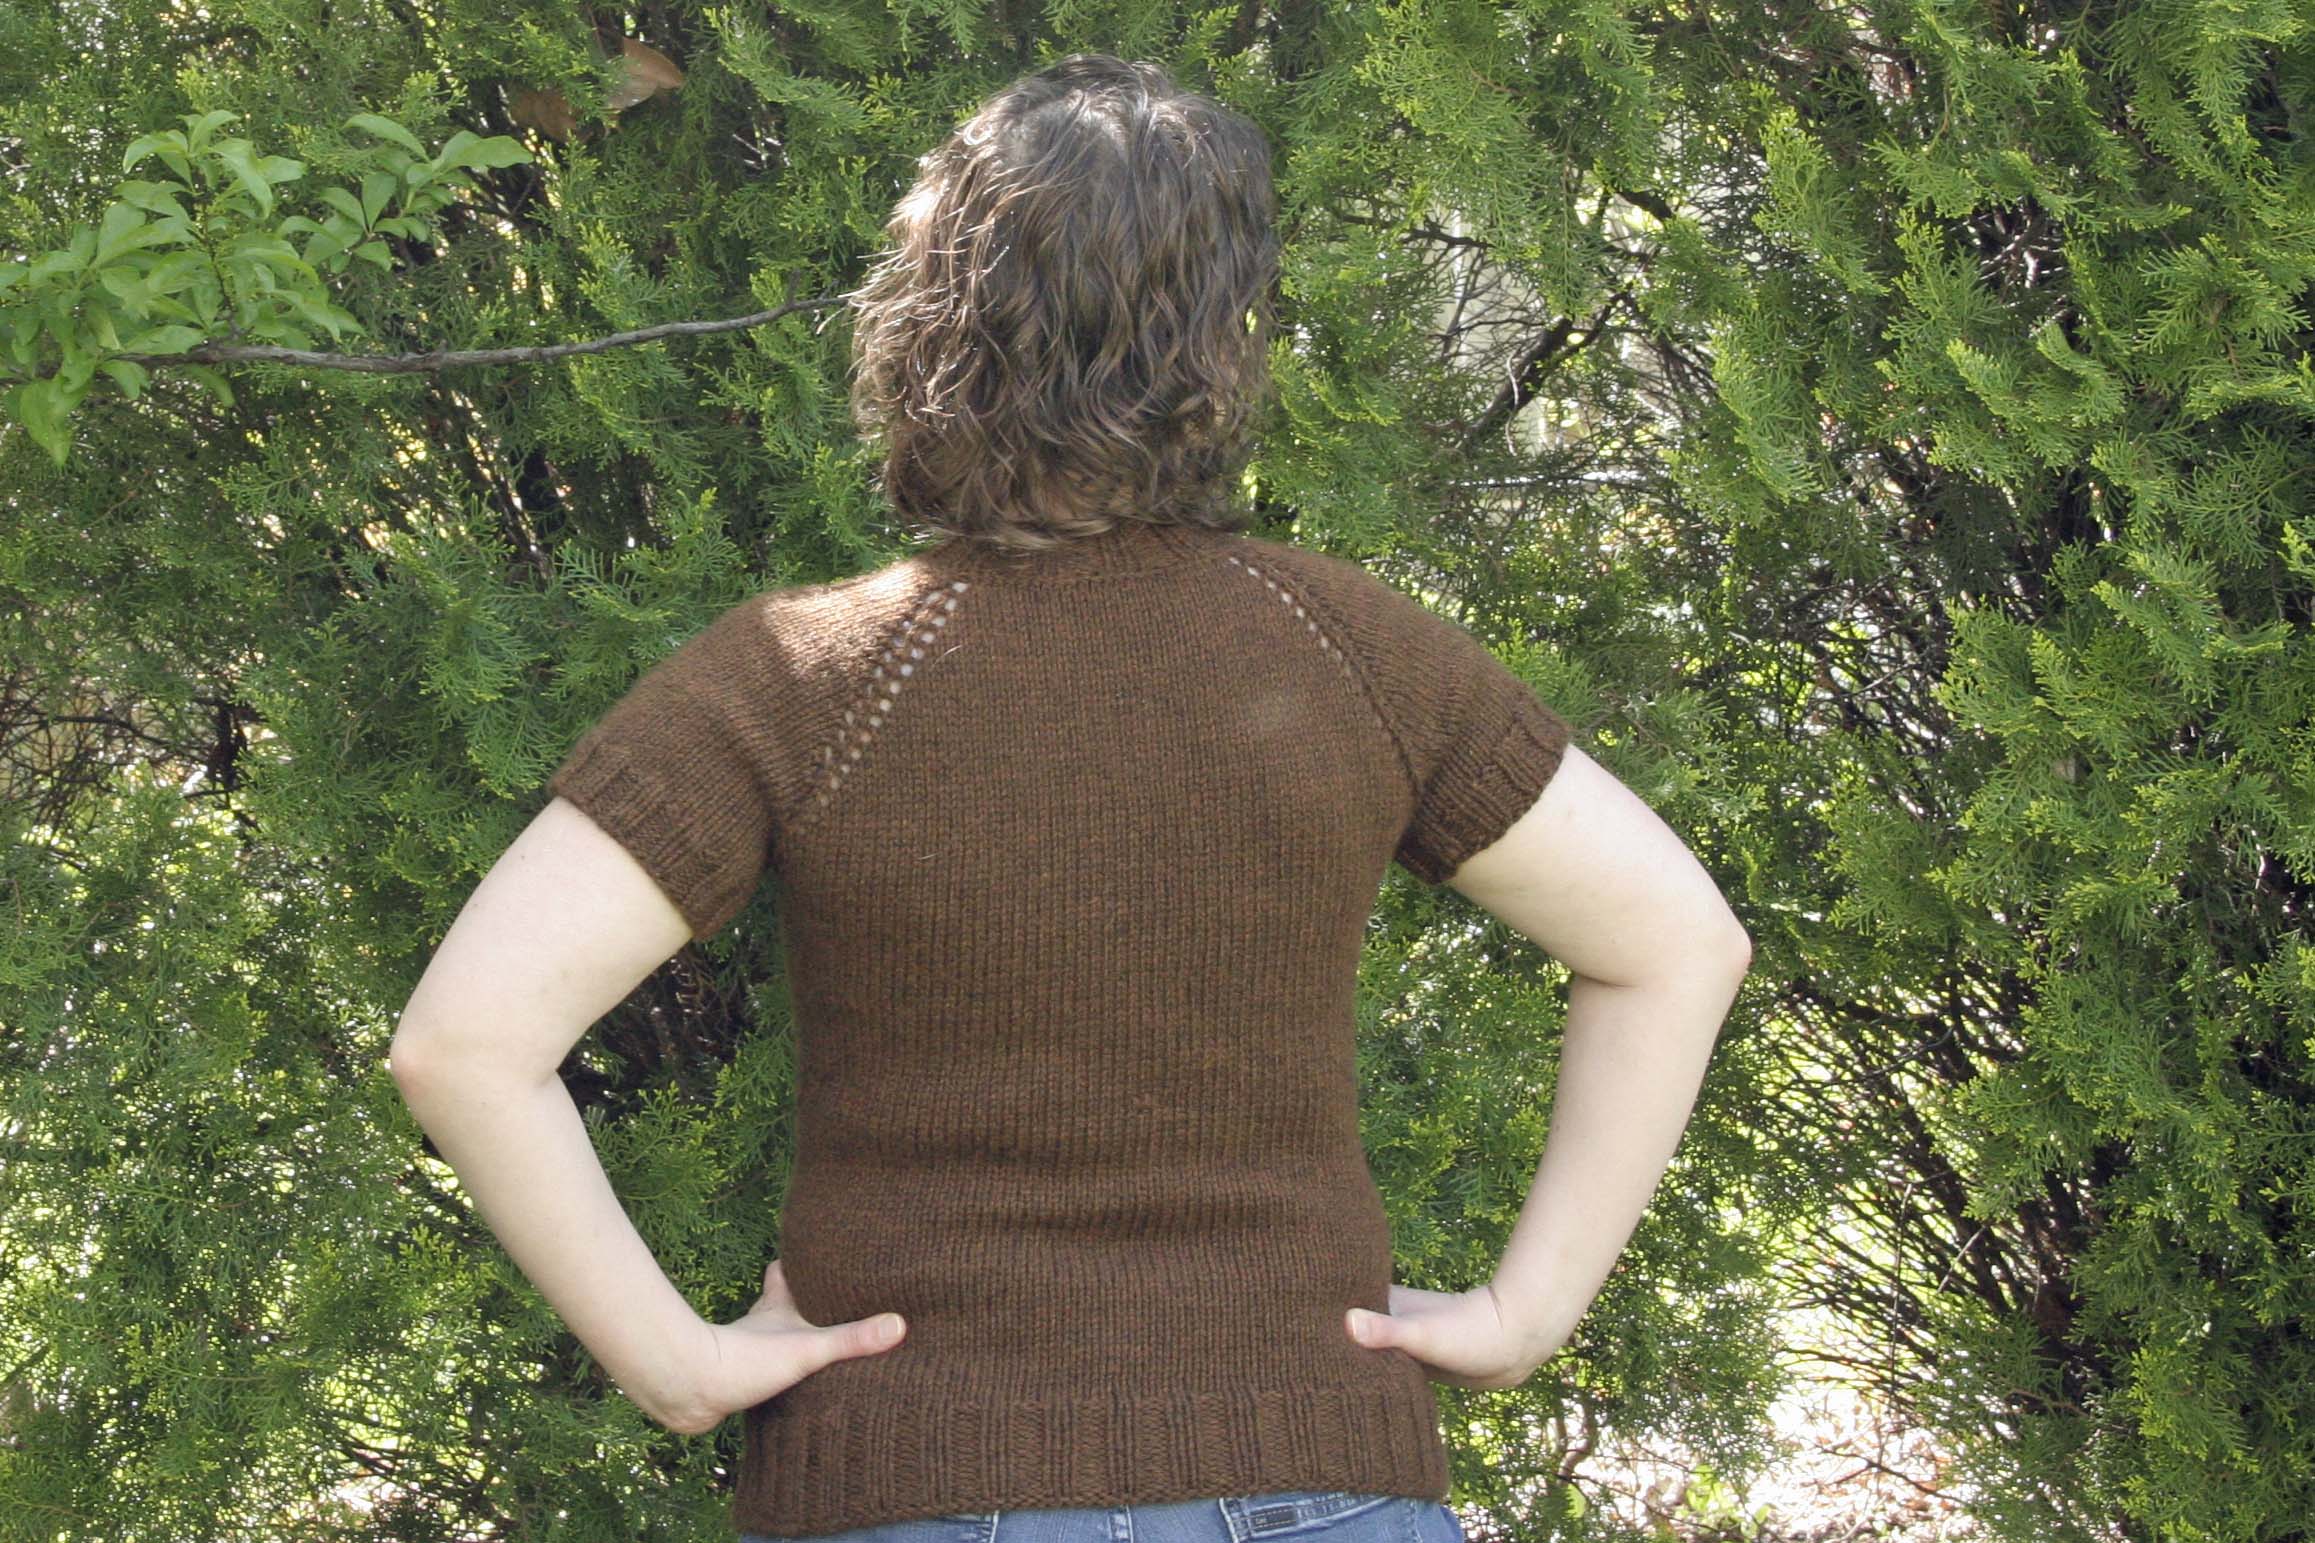
– I used a crochet cast on method in the beginning and when I cast on the additional stitches before joining in the round. In my first attempt I used a knitted cast on method. With the dark yarn it was hard on my first sweater to find the stitches when I went to pick up and knit the neckline and therefore the neckline was tighter. The crochet cast on was a neater line and made picking up stitches much easier. You can also see that the neck is more open than on my first Mud Season.

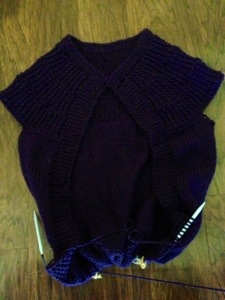
– I paused knitting the body just after I divided for the arms and had knit about 10 rows down. I wanted to maximize the yarn at the bottom of the sweater without having to worry about running out and not being able to make the neckline or the sleeves. It actually worked pretty well and I liked not having to go back do those at the end.

– I have a long torso and wide hips. I’m of Scandinavian decent and these are the gifts of my ancestors. My first Mud Season was a bit short for me and tight across my hips. I wanted to change up the increases at the bottom of the sweater to make it more flattering. When I got to the increases I worked the following:

  1. Increase round
  2. Knit 5 rounds
  3. Increase round
  4. Knit 5 rounds
  5. Increase round
  6. Knit 6 stockinette rounds
  7. Increase round
  8. Knit 6 stockinette rounds
  9. Increase round
  10. Knit 6 stockinette rounds
  11. Increase round
  12. Knit 6 stockinette rounds
  13. Increase round
  14. Knit 1 stockinette round
  15. Work ribbon as instructed in pattern.

I love this pattern and will probably stay in my rotation as a “go-to” sweater and gift knitting. It’s just the right mix of fun and easy that I can watch TV or a movie or even carry on a conversation. Not to mention it’s a very quick knit!

_MG_0385


_MG_0379


Happy Knitting!!!

Picture Day!!!

Some of my most recent FOs got a good bath this past weekend and the husband helped me take some photos of them in the beautiful May sunshine.

First up, my Stylish Square Blanket or Stashbustin’ #13

_MG_0355


_MG_0358


_MG_0356


This blanket was delivered to it’s new home yesterday. This golden treasure now belongs to my bestie from high school and her baby due later this year. I went to see her new home and couldn’t go empty handed. And what better to take to a new mom-to-be than a snuggly baby blanket?! She loved it of course and I can’t wait to meet my newest neice or nephew!


Next up my chocolate Mud Season or Stashbustin’ #14

_MG_0366


_MG_0373


_MG_0370


I gave this sweater a spin on Monday as I ran errands. I threw a tank on underneath and it was perfect as the temp only made it to the mid 70s. I got a few compliments on it and I can’t wait to wear it again. But as the temps are getting into the 80s and 90s….I may have to wait until fall.

Happy Wednesday to all! I’m off to continue my battle of organizing my craft room. Wish me luck, lol

FO Friday: Mud Season

Stashbustin’ #14 is complete!!

20130507-224715.jpg

I finished this in no time!! Ten days start to finish. It really helped mitigate my stress of late, lol.

I mentioned a few of my pattern alterations in my WIP Wednesday post. I really like this pattern. It was easy to follow and well constructed. It’s a bit snug…but that’s probably more due to my poor eating of late and not the pattern. I would definitely wear a tank or long sleeve tee underneath.

It still needs a good soak and blocking. But I haven’t unpacked far enough to find my Soak or blocking mats yet. I hope to get that done this weekend and take some photos of it on. It’s so pretty and soft I can’t wait! Neither could Chloe evidently…

20130507-225404.jpg

I used four and a 1/3 skeins of yarn. I have 2 2/3 left and I have had Snug by Hinke in my queue for awhile. Me thinks my chocolate leftovers are going to make a Snug for my Stashbustin’ #16. I plan to cast on tonight!

I also may or may not have already cast on anotherone in the Vintage Chunky in teal for my Stashbustin’ #17….

Oh WIP-itis thy are a cruel mistress!!